At this point, the screen is basically complete:
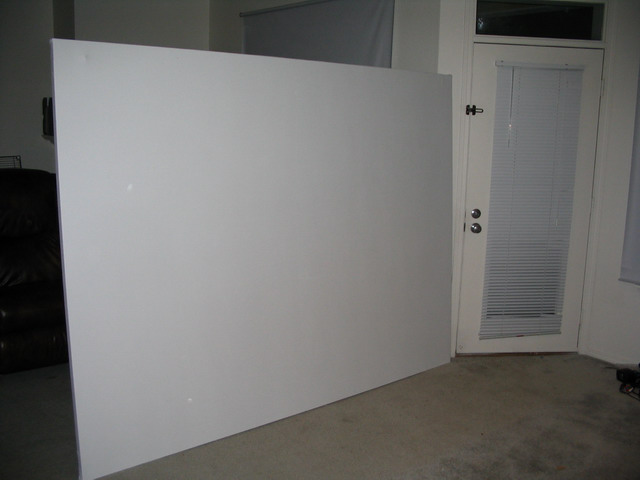
To make things look a lot nicer, though, I decided to put a border on my
screen. I started by putting a strip of
gaffer's tape around the outside of one
edge of the screen:
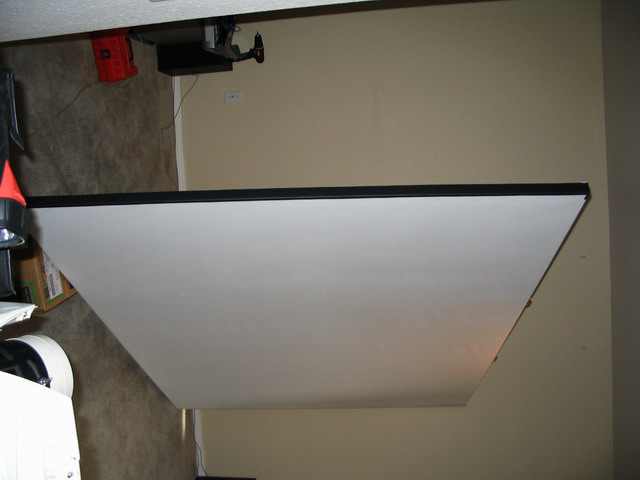
Then, I put another strip of tape along the front of the screen, lining up
with the tape on the edge:
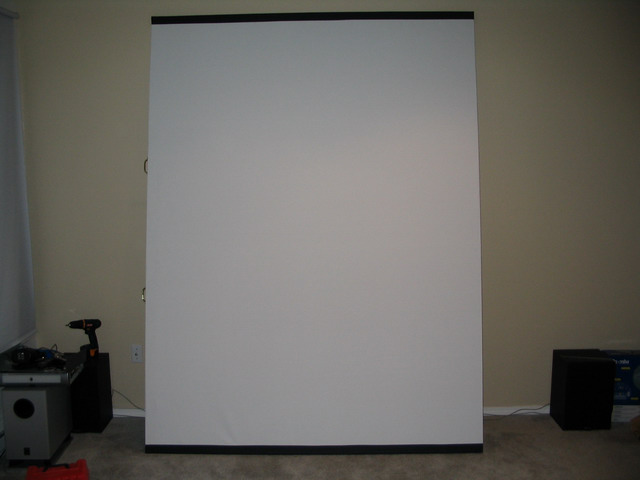
...repeat for the other two sides:
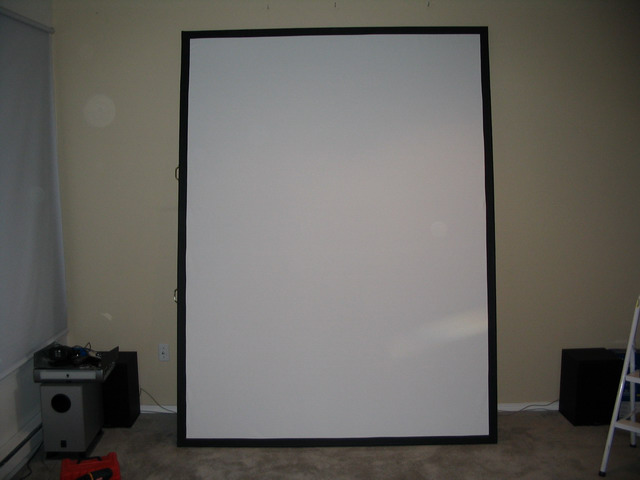
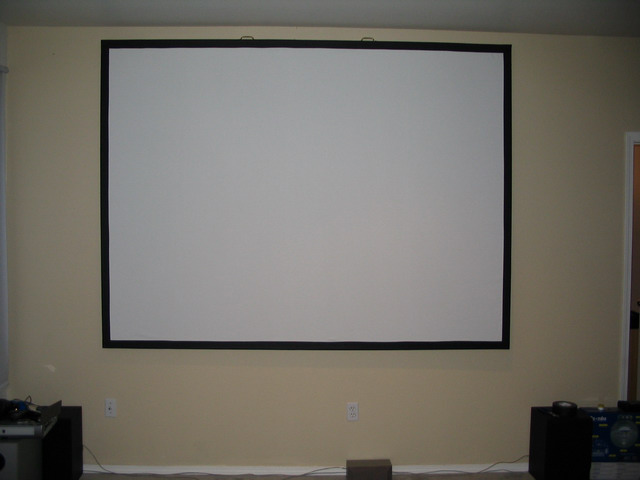
...and you've got yourself a screen!
Another option that can be used to create a border is to wrap velvet or
velveteen (a cheaper version of velvet) around a 1x2" or 1x3" piece of
unfinished pine and screw it into the front of the screen. This material
is very effective at soaking up any light that spills off the screen and to
cut a nice clean edge to the image.
[Note from the webmaster: We've been asked if this sort of curtain blackout
material-based screen will sag over time and require re-stapling. The
answer is: No. I made my own blackout material screen back in early
2001 and as of this writing in mid-2006, it has not sagged at all. In fact, it
looks identical to the day I made it. You can see pictures of my own
screen in my photo gallery
here, though be forewarned that the pictures are probably not all the useful
as photographing a white screen with a black border isn't easy. The most
useful photo is probably this one
here which shows a close-up of the border-wrapped velveteen].

|


