Some of the pictures and instructions provided in this procedure have been
provided by forum member Don Kellogg.
Thanks Don!
Normally when you buy rebuilt or new tubes the high voltage (HV) leads come
with the tube. There may come a time however when you want to transplant a tube
from one type of projector to another, and the HV lead is different. The
procedure below describes how to remove and reinstall the HV lead from a tube.
(In case you're curious, the tube in the pictures for lead removal is from a Sony G90).
This is not a difficult procedure. We're posting it as most people have no
idea what's actually underneath the boot and don't want to risk breaking a tube
by removing the lead incorrectly.
Removing the boot:
1) Take a razor blade and hold it tight against the tubes bell housing.
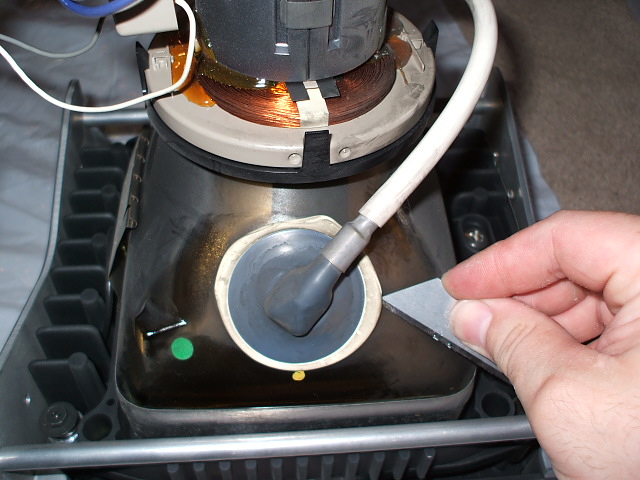
2) Cut around the boot removing the silicon, being carefully not to cut the
boot itself.
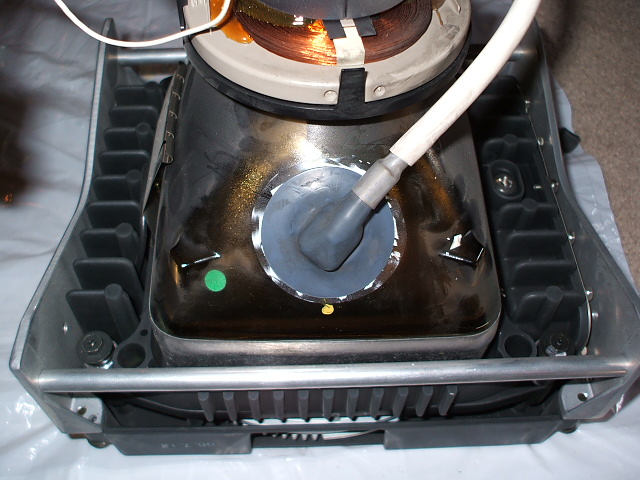
3) Once you have cut around the boot lift it up.

4) Find the clip and squeeze it together with a pair of needle nose pliers to
remove it from the tube.
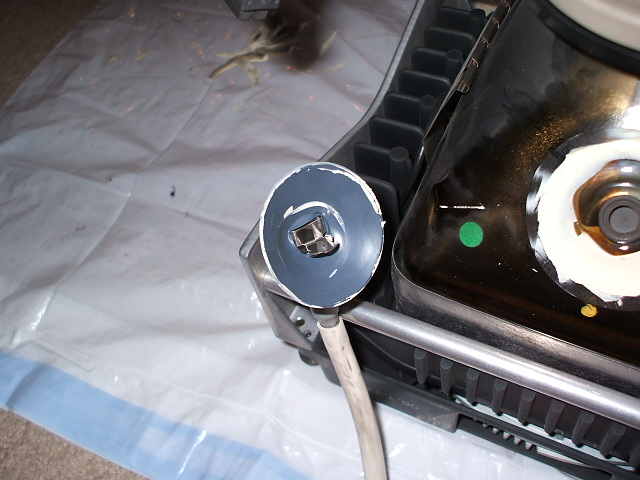
5) Remove any excess silicon from the tube bell if you intend to use the tube
again.

Reinstalling the boot:
1) Test fit the HV lead with out silicon. Once you have a test fit remove the boot.
2) Place silicon on the bell around the area where the lead will go. The correct
stuff to use is DOW 3145 RTV. Another option is high temperature silicon as
found at automotive shops (shown in the picture below). Be sure not to get
silicon too close to the HV lead hole.
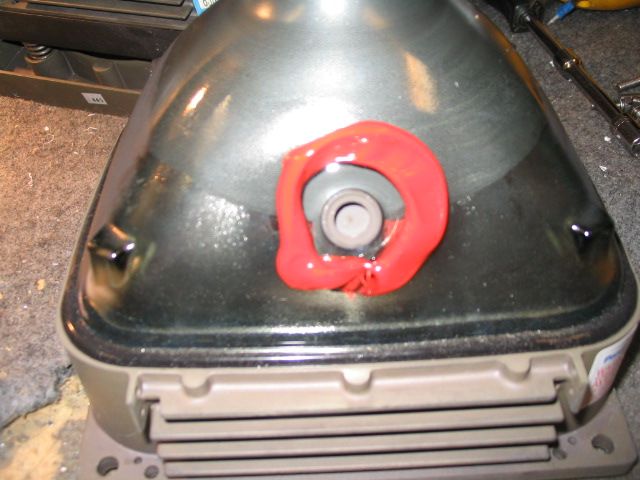
3) Hold back the rubber cap of the HV lead and (in one move) insert the metal
connector straight into the tube anode connector. Orient the red wire in the
direction the original lead was placed.
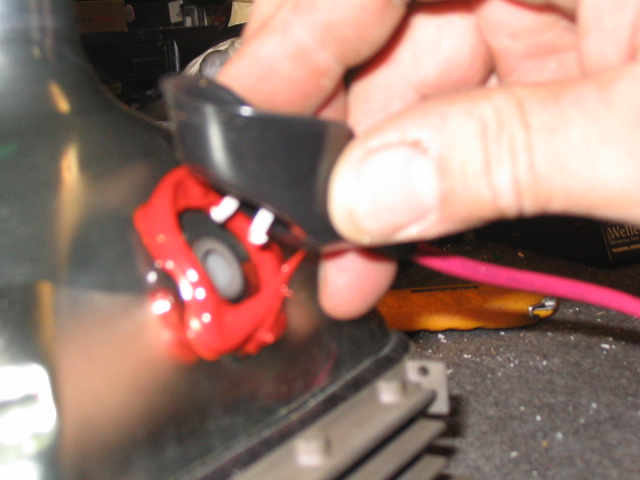
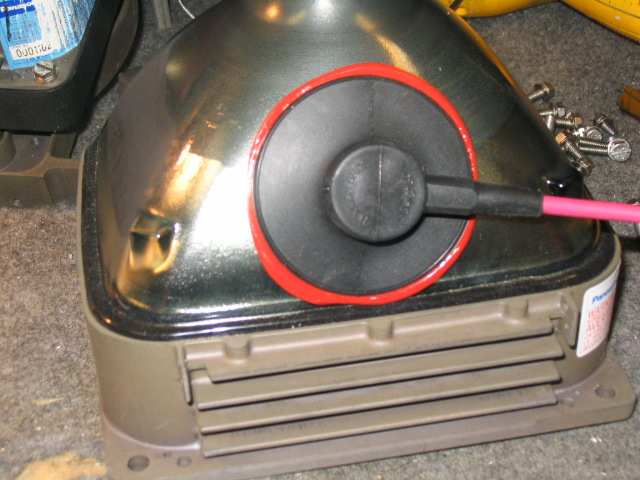
4) Push down the rubber cap so that the silicone beads out around the rubber
cap. Let the silicone dry for at least 4 hours before powering the set up (or
however long the instructions on the silicone say that it takes to dry).
| Did you find this information useful? Please consider making a
donation to help defray the cost of managing and hosting future
articles, tips, and documents. |
|
|
|
Or
purchase
from
Amazon.com
and a small percentage automatically
goes to support this site at no extra cost to you! Visit their
Blu-ray and
4K UHD
stores for sales.
Want to show off your
home theater? See our
Blu-ray Release List & Must-Have Titles. |
|

|
|

|


