Hushbox Design
There are various types of hushbox designs you can use to build your own
hushbox but it is absolutely important that the cooling system maintains its
efficiency otherwise it will just prove to be an elegant way of decreasing the
life of your projector.
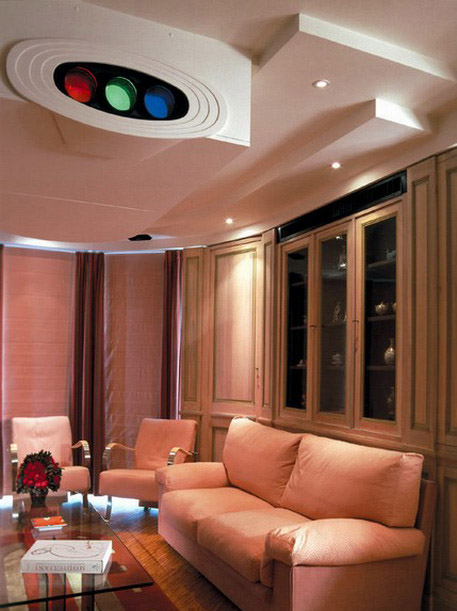
In my case I chose the design of the hushbox shown in Fig. 7.

Figure 7
From pure HT standpoint of view, the installation does not provide best
quality HT environment since the whole room shown in the photo is white, which
reflects light. In a perfect HT room (although there might not be such thing)
all the environment is painted black in order to avoid any light diffusion.
Since in most cases there is no HT dedicated room, but the HT system is
integrated in an everyday room of the house, it is perfectly understandable that
the hushbox is to be integrated with the decoration.
It is also the case in question since the main theme of the living room is white
and the HT system is right in the living room.
Since the hushbox to be reproduced was the one in Fig.7, I also had to design a
cooling system integrated in the hushbox.
Having a concrete ceiling and no way to build a ducted cooling system, it was
decided to use the same cooling structure of the original projector and to increase it.
There would be 4 fans but instead of the standard 80mm dia. Fans, high
performance 120mm dia. Fans would be used. The choice fell on qty. 4 Papst 4392L
which should prove to be more efficient than the smaller 80mm. The structure of
the cooling system has been maintained virtually the same: 2 fans pushing air
inside the hushbox and 2 fans extracting air from the hushbox.
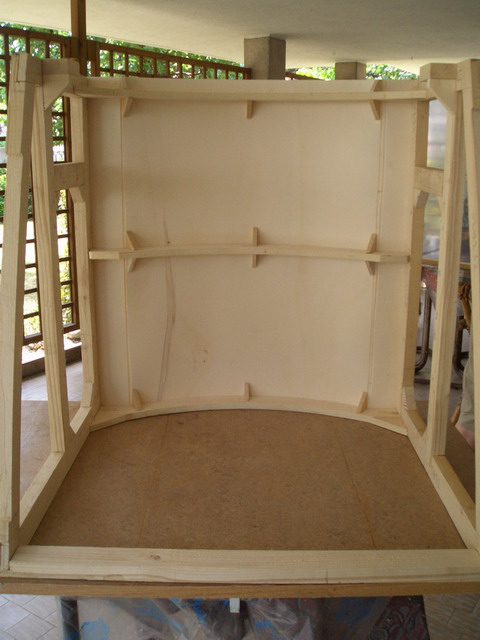
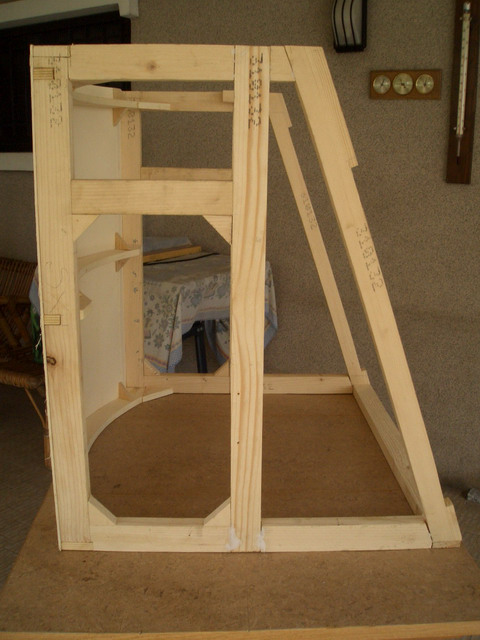
Once the design and the cooling structure of the hushbox has been decided,
manufacturing can start (See Fig. 8 & 9).

Figure 8

Figure 9
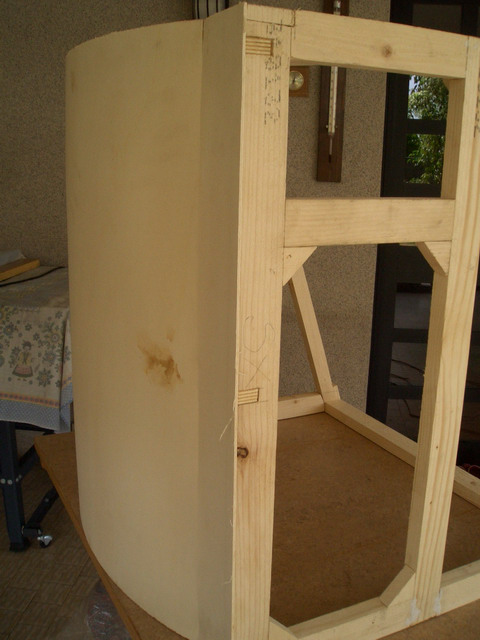
In Fig. 10 you can see 3 mm plywood used to build the arc shaped bottom part of
the hushbox. A thicker sheet of wood couldn’t be bent as much easily as the
first one.

Figure 10

|


