Definitive CRT Projector Setup Guide |
(Page 5)
|
Page:
1 2
3 4 5 6
|
| |
Tilt
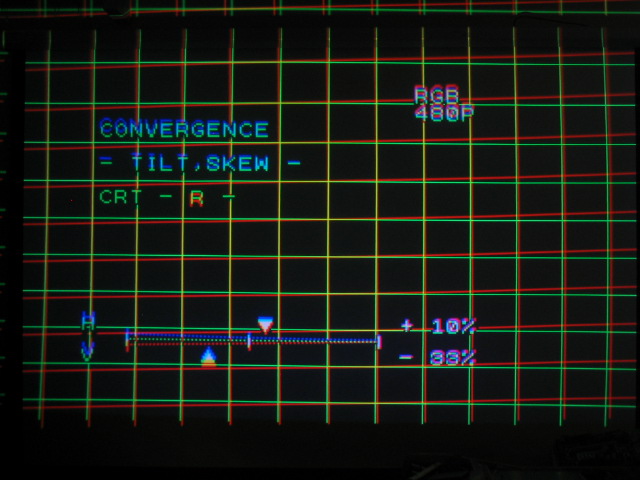
Here you can see the red tube is way off of the green line in a vertical
direction. When adjusting tilt and skew, concentrate on the line running down
the middle of the screen, both vertically and horizontally. Use that line only
(feel free to use the crosshair test pattern) to set the tilt and skew.
Bow
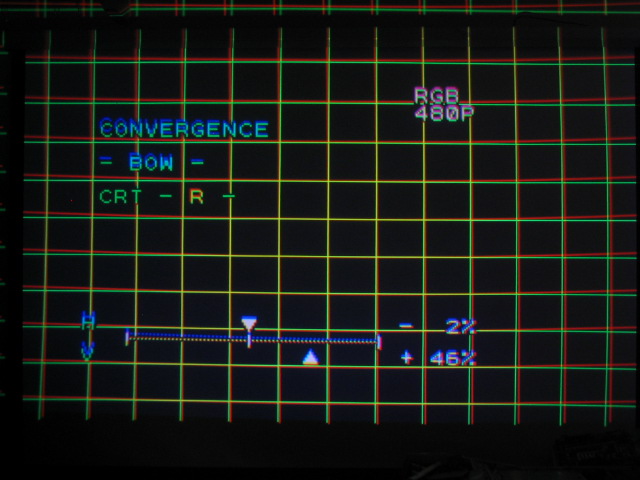
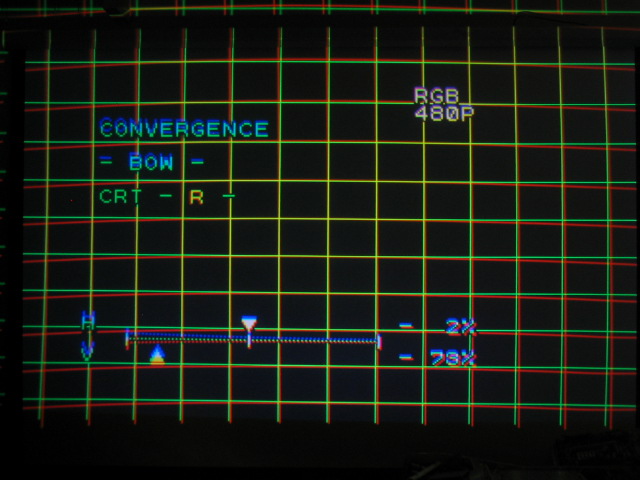
As with the tilt and skew commands, use the center horizontal and vertical
lines in the middle of the screen to set the how control. Here’s two pix that
show the range of the bow control:
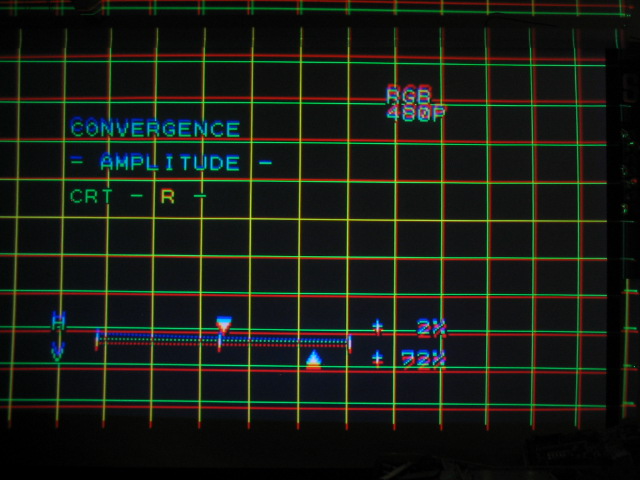
Amplitude
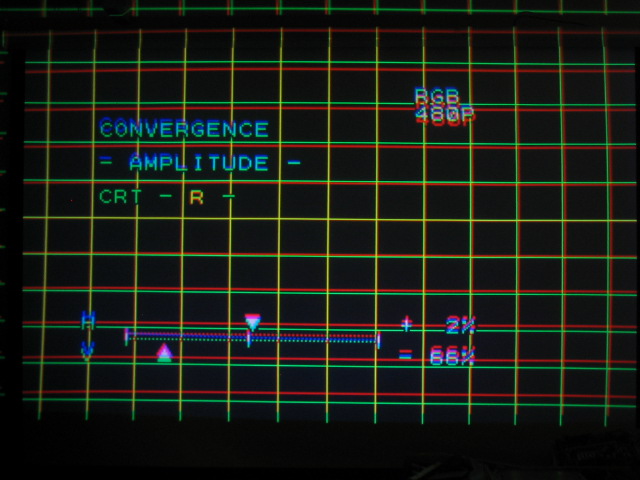
As with the green, the red amplitude control changes the height and width of
the red tube grid as compared to the green tube. You want the height and width
of the red tube to match the green. The below pix show too little and too much
height on the red tube:
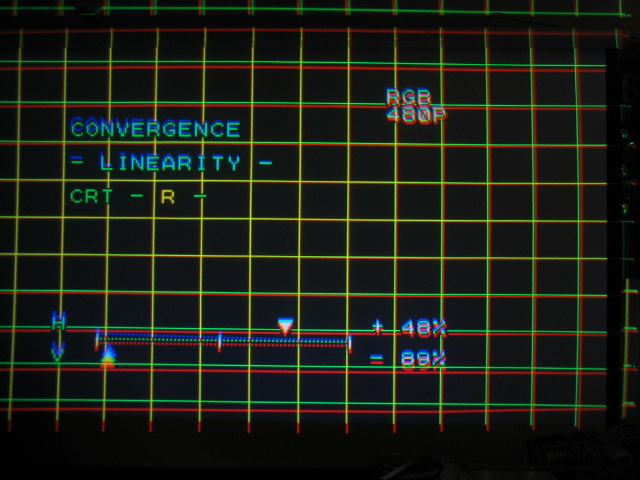
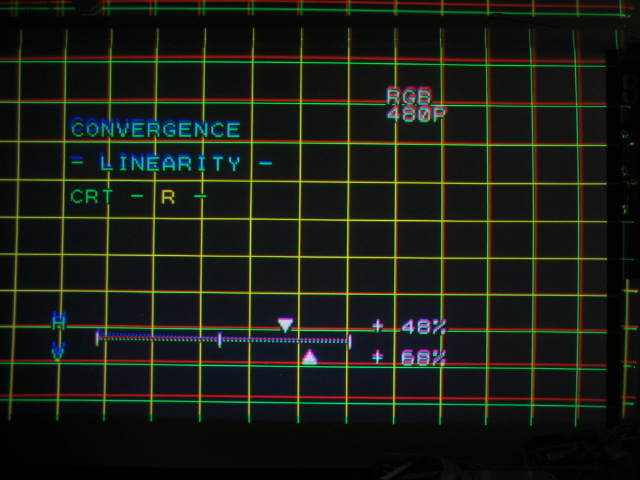
Linearity
You are now adjusting the size of the top squares as compared to the bottom
squares, or the left squares to the right side ones. Use the linearity control
in conjunction with the amplitude control to overlap all edges to the green
tube. Shown below are top and bottom linearity extremes to show what the control
does. Left and right linearity works in a similar manner to the top and bottom
controls:
Note that having settings quite a bit off the O mark is normal for the red
and blue convergence controls to get them to overlap with the green.
Linearity Balance Controls
To further confuse the end user, NEC has 4 linearity balance controls for
extra fine tuning of the linearity controls. Under normal flat screen
installations, the linearity balance controls can be set to 0, but under certain
circumstances, some fine tuning of these controls will bring the image into
perfect convergence. The two pictures below show when too much linearity balance
is used on the left side of the screen, pushing the red vertical lines to the
left and right of the green reference grid:
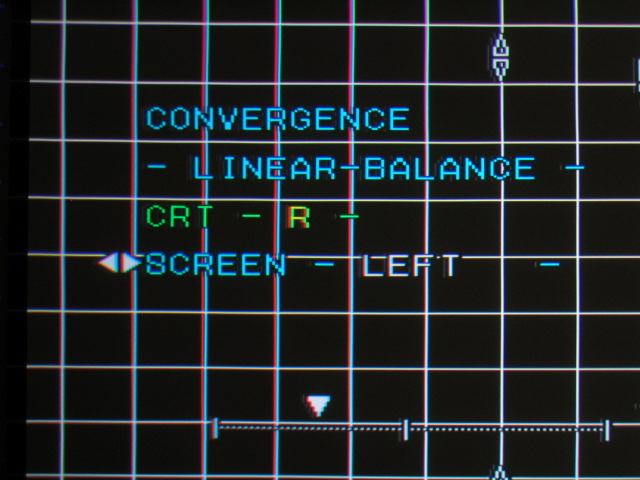
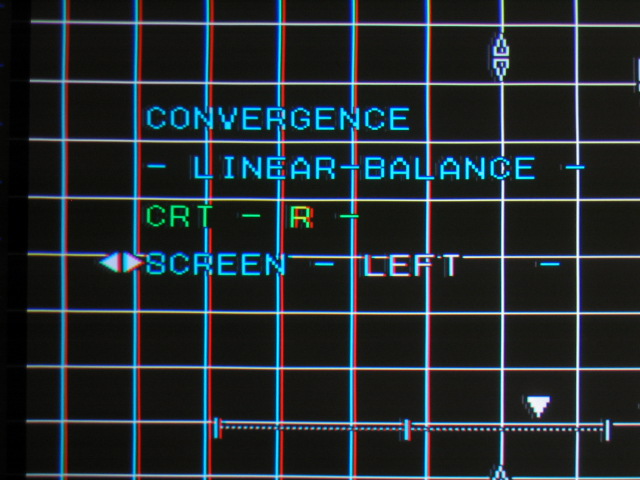
The linearity balance controls affect the midpoint between the center and
edges of the image rather than the edge or center of the grid.
Keystone
To make adjustments easier, the keystone adjustments are separated into the 4
sides of the set. Press the ‘ctrl’ and appropriate arrow button at the same time
to change the side that the keystone adjustment is affecting. Here we are
adjusting the bottom keystone as indicated by the solid arrow pointing at the
bottom of the image:
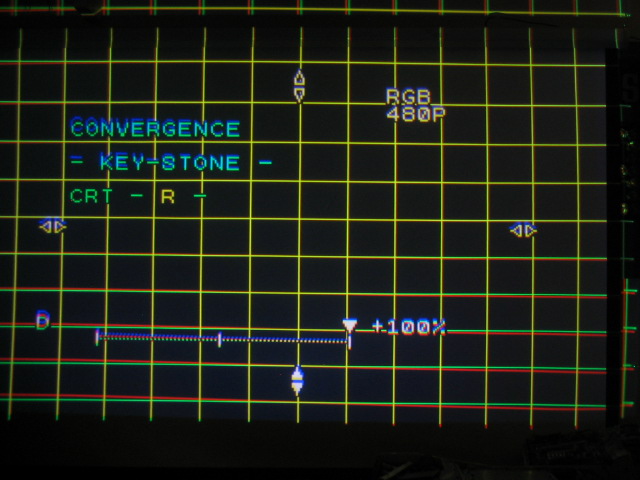
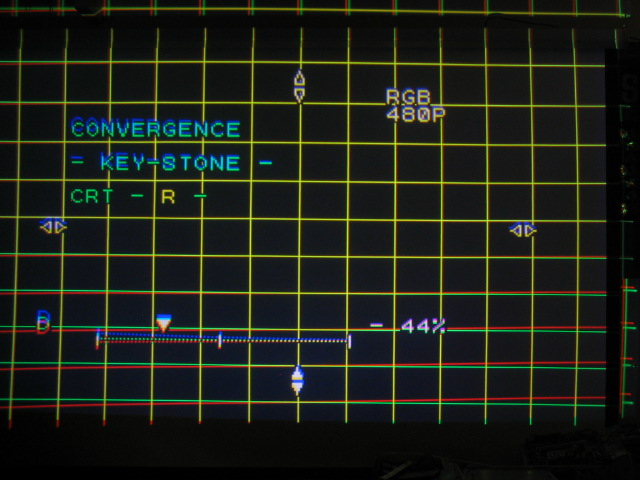
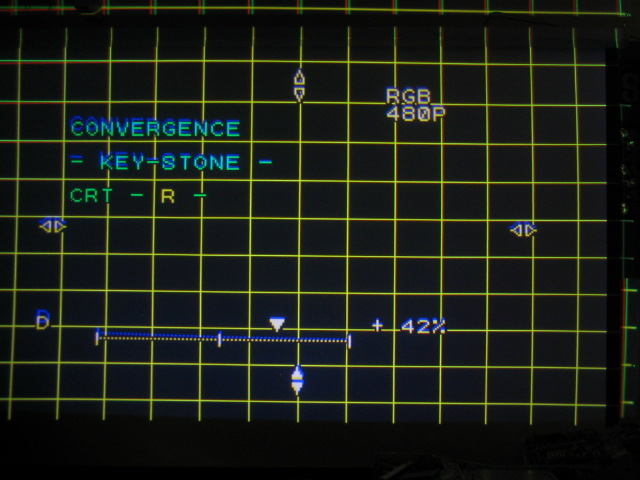
In this case, good keystones is achieved at +42:
Pin-Cushion
As with the keystone command, the ‘ctrl’ button and the arrow buttons will
adjust one side at a time. The range of the pin-cushion control is shown below:
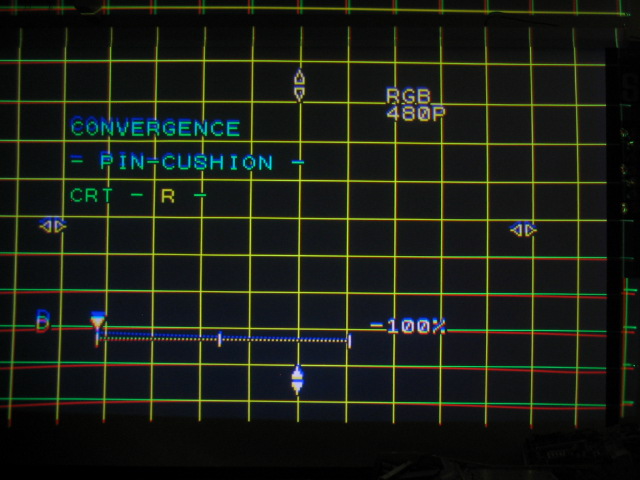
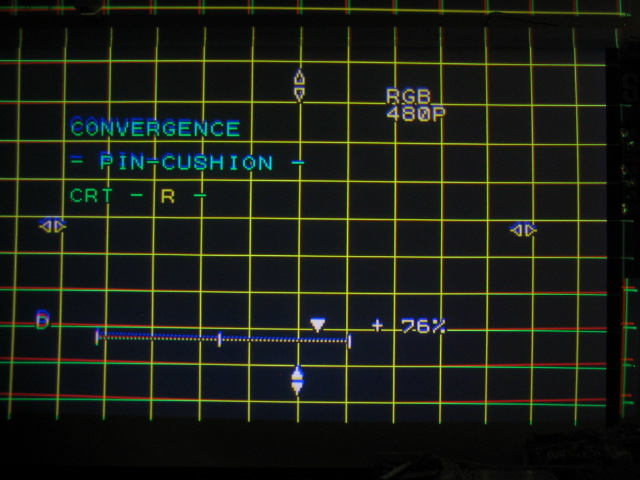
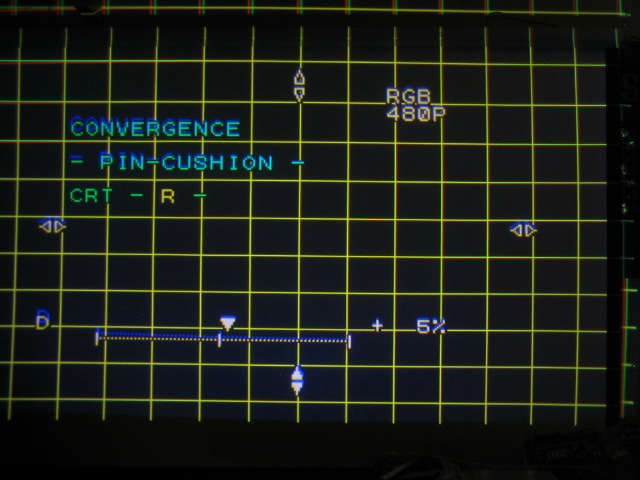
Proper pin-cushion is achieved at about +5 in this case:

|


