 |
||||||||||||
| Home |
|
Products For Sale |
FAQs, Tips, Manuals |
Referral List |
|
Photo Gallery |
|
Links |
|
Contact Us |
|
|
||||||||||||||||||
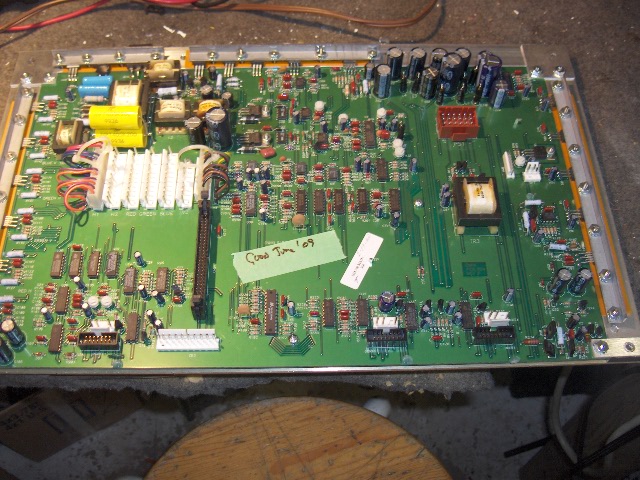
With the CRT sockets lifted out of the way, carefully slide the motherboard out the back of the set, and you’ll end up with this:
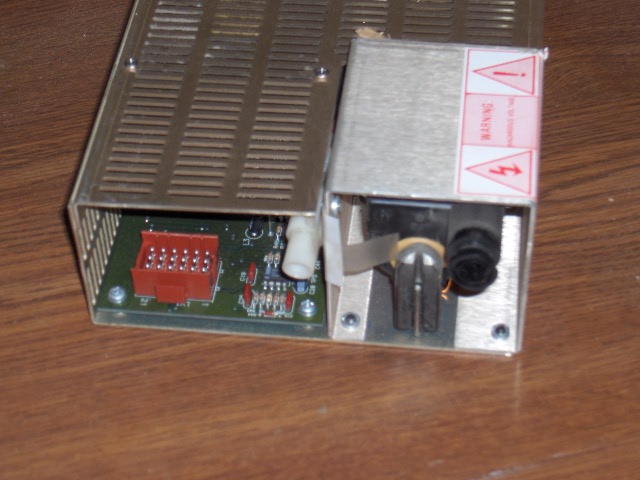
The power supply is located under the metal cover that the AC power cord
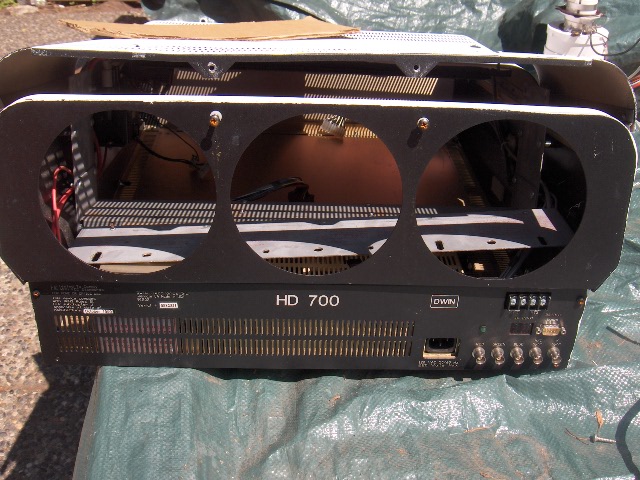
plugs into. Four screws hold the DWIN metal cover in place under the lenses on
the DWNI 700:
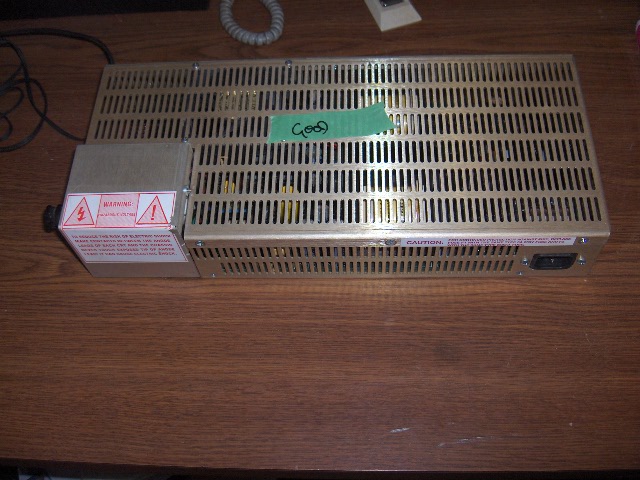
Three screws then hold the power supply to the chassis. The power supply lifts up and pulls out of the set. The DWIN 700 has the power supply, HV, and screen wires coming out the left side of the power supply. These all unplug (the main HV lead has a collar that locks it into place), and then the power supply comes out of the set:
The DWIN has little means to troubleshoot, as the only indicator LED is the green one on the front of the set. In case of an overload, the projector will shut down and start flashing rapidly, indicating a short or other fault in the set. Since the power supply is light weight and easy to ship, I always recommend sending in the power supply first for testing here, as it has a number of common failures. If it tests OK, then the problem is in the CPU board or on the motherboard. A failure in the CPU board can damage the motherboard as well. DWIN never released any schematics or service information on their units, but I’ve gotten to know the DWINs quite well, and have a good selection of parts in stock for them.
|
|
|||||||||||||||||
© Copyright CurtPalme.com. All Rights Reserved. |

