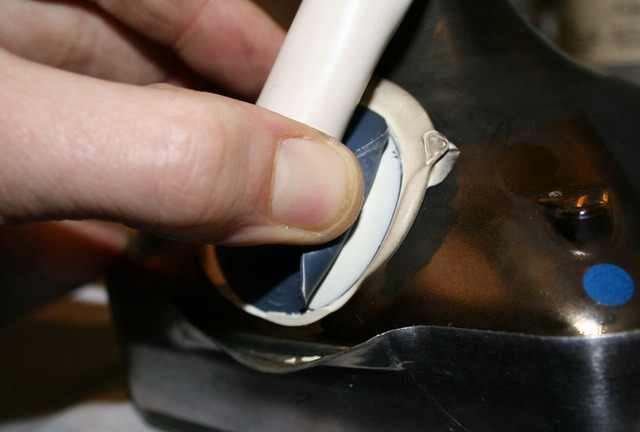
15- Now, we can remove the HV grey silicon cup from the old tube. Simply cut
the circular outer edge of the HV silicon cup with a sharp cutter/blade (use
Exacto blade or equivalent). Then using a small flat screwdriver, gently pry up
the cup border from the white silicon. Once been able to catch the cup by finger
continue to pry up the silicon cup with fingers. Do it VERY slowly so that most
of the white silicon remains on the glass :
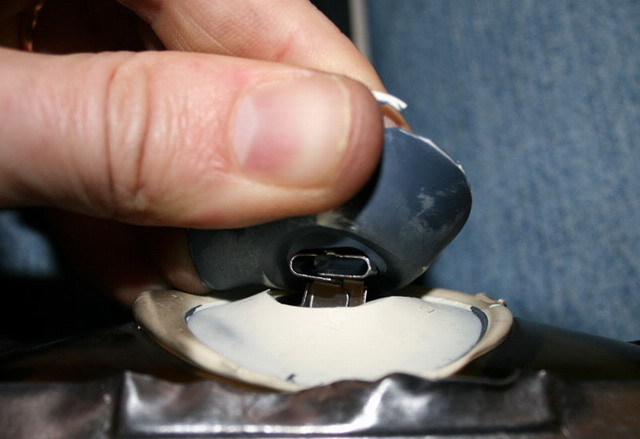
16- Continue to slowly pry up the cup all around the center hole :
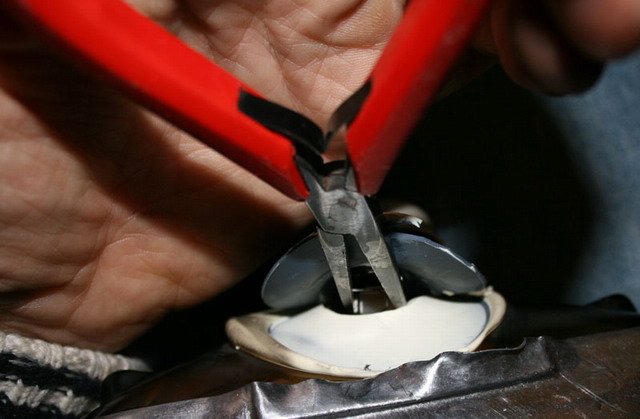
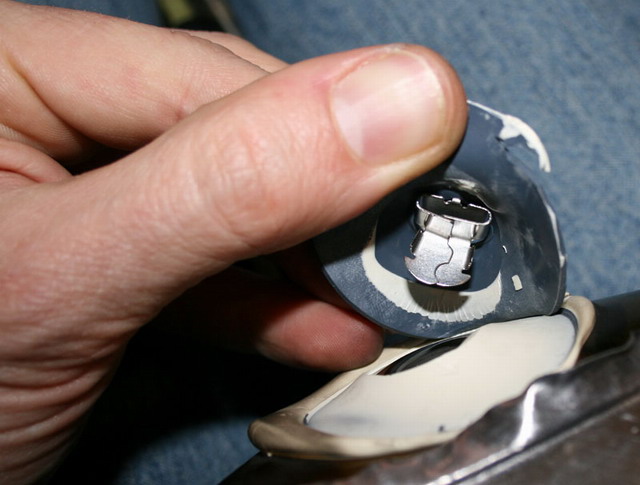
17- Using a pair of needle nose pliers, squeeze the metal leads together in
order to remove the HV cup from the glass hole :
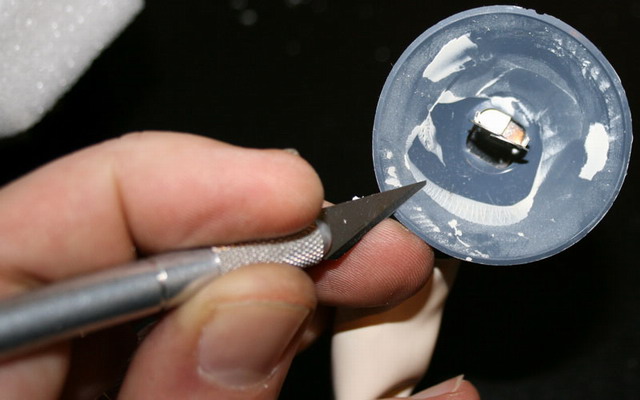
18- Still using the sharp cutter/blade, clean the remaining white silicon from
the inside of the cup. For small silicon spots, you can use acetone liquid
cleaner to help :
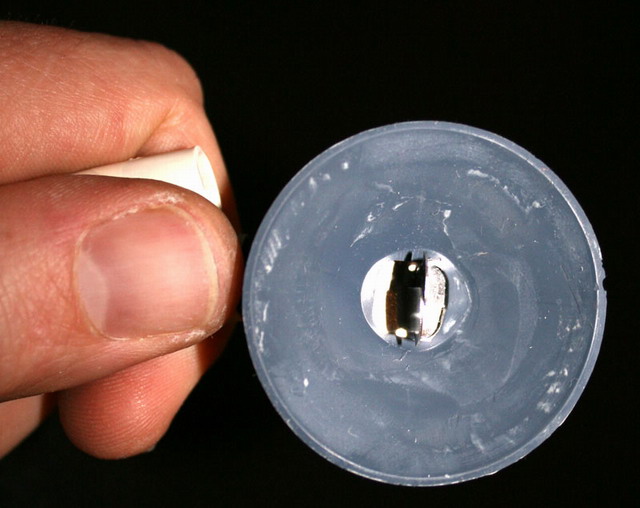
19- The inside must be clean and look like this when you're done :
20- Now disassemble the tube glass itself from its aluminium holder.
This is the most difficult part of the job, so take your time!
Use a long and thin cutter/blade and insert it between the tube front face and
the black silicon join. Leave the blade position as close as possible to the
tube face while slowly cutting the silicon join all around the tube. Beware that
there is four steel pits in the middle of each borders and the cutter must avoid
them during the cutting operation. After the job is done, your should be able to
get this :
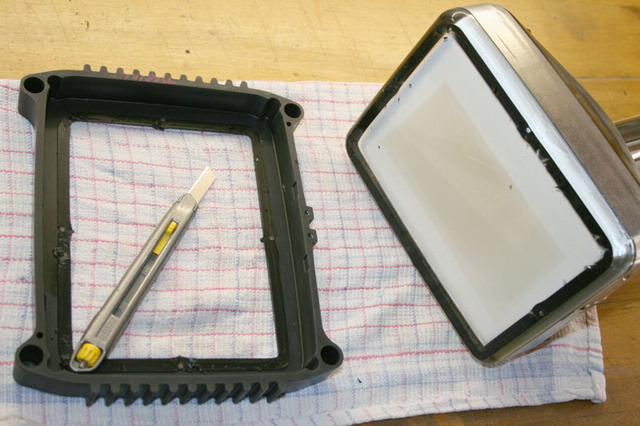
Retrieve the four steel pits and store them in a safe area
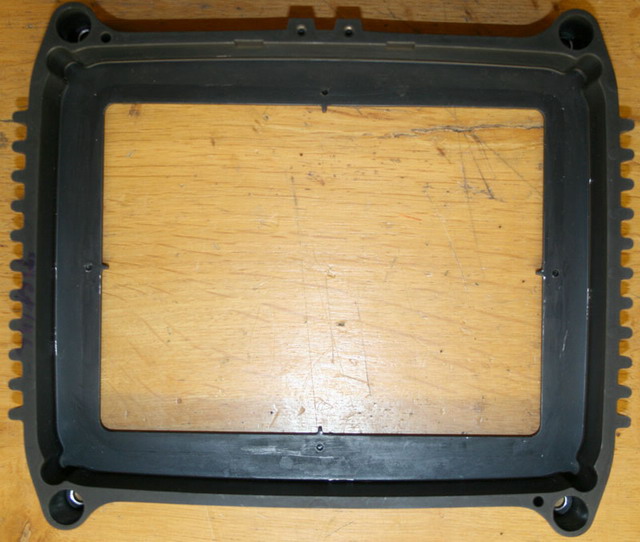
21- Now take the aluminium belt/holder in hands and SLOWLY pry up the remaining
silicon join from the aluminium part. Do it slowly will ensure that NO silicon
spots will remain on the metal part:
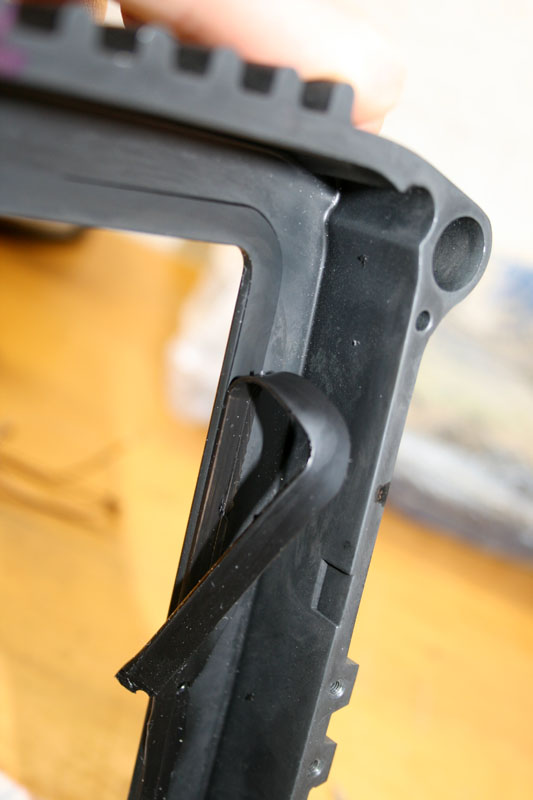
22- When the job is well done, you should get this:

|


