The following procedure and pictures were provided by forum member
JohnHWman. Generally speaking we at CurtPalme.com do not recommend fan mods in
order to reduce the noise level of a projector as airflow is often compromised
which is turn creates more heat, shortening the life of your projector. Building
a vented hushbox is our recommended approach
to reducing projector noise. If you choose to replace fans we recommend testing
the before and after temperatures to ensure cooling is not affected.
Since I've been asked for information on silencing the Sony G90 projector,
I've decided to post this step by step procedure. This mod will cut the
noise by approximately 7 dBA (nearly half the noise level).
5 fans are replaced with SilenX brand fans in total: 4 fans in the rear, and
1 fan in the front.
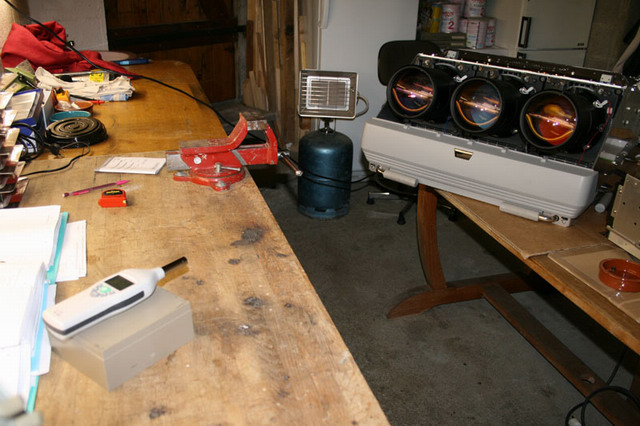
Noise measurements were made before and after the fan replacement at a 1m
distance in front and back of the G90 with it's outer plastic shell removed (ie:
worst case scenario).

Here is the results :
Noise floor : 34dBA
With original Sony fans : Front = 44dBA, Back = 46dBA
With new SilenX fans : Front = 37dBA, Back = 39dBA
Overall noise Gain : 7dBA ! (Something 10 dBA quieter is perceived by
human hearing as twice as quiet)
On to the procedure!
Replacing the four back fans:
The G90 unit hold four 120x120x38mm Japan Servo SCNDM12D4 (30dBA noise each)
that draw 77.7CFM each. Then, I would assume that changing these fans to
IXP-76-14 (72 CFM) is the best replacement part versus the original 77.7CFM.
Note that for my point of view, the 90CFM version (IXP-76-18) is totally useless
and increases the noise level for nothing on the G90 .
Here is the complete SilenX IXP-76-14 specifications
http://www.silenx.com/ixtremaprofans.asp?sku=ixp-76-14
SKU: IXP-76-14
Rated dBA: 14 dbA
Dimensions:120x120x38mm
RPM: 1200 rpm
airflow: 72 CFM
nominal Voltage: 12V
Current Draw: 0,20A
Power Consumption: 2.40W
Bearings: Hybrid Immersion
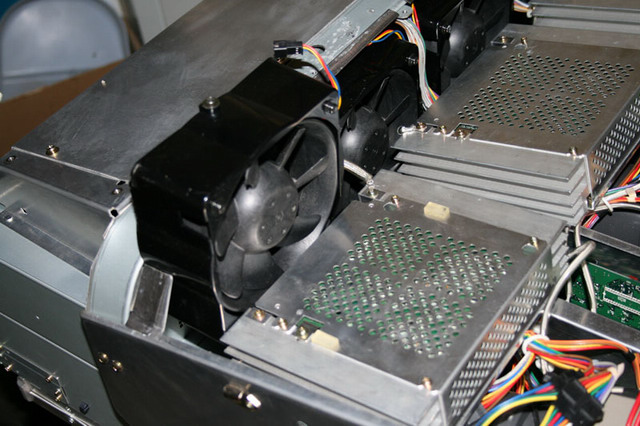
1. Remove the G90 top metal cover from the front of the unit. Unlock the two
sliding hooks of the unit below cover. Unscrew the last center cover screw and
open it. Then unscrew the most left blue tube final amplifiers stages to slide
it toward the front of the unit. Finally unscrew the first fan plastic holder
(unique top screw), disconnect the fan connector and remove the fan assembly out
of the unit.

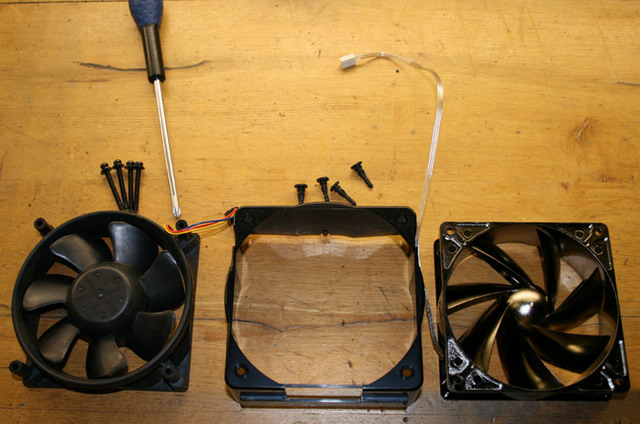
2. Disassemble the original Sony fan from its housing by unscrewing its four
long cross screws. Prepare the four SilenX rubber spacers :


|


