Step 7: Convergence
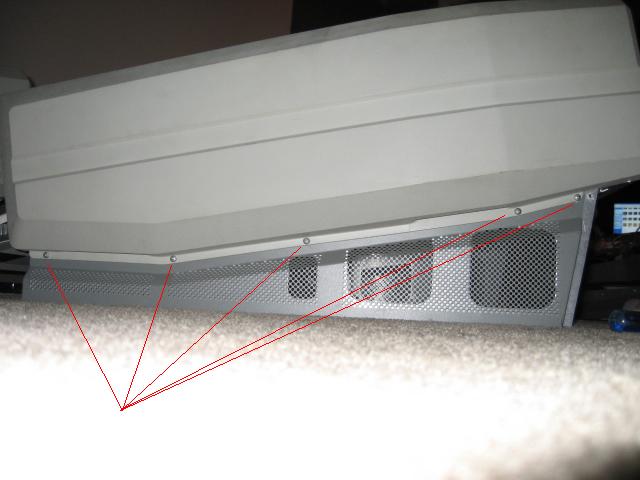
Remove the FIVE screws shown below.
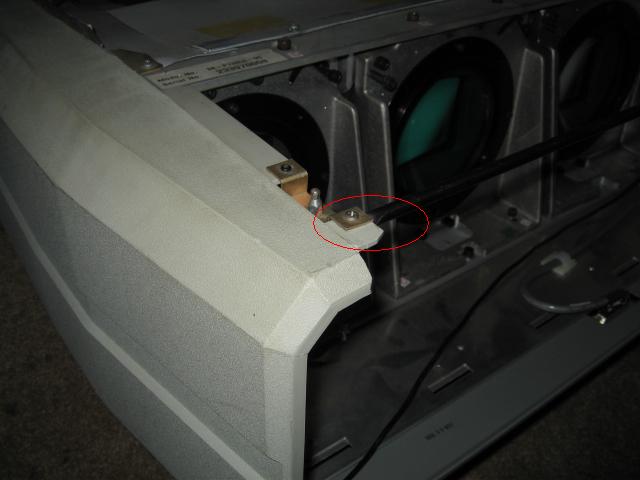
Remove the ONE screw shown below.
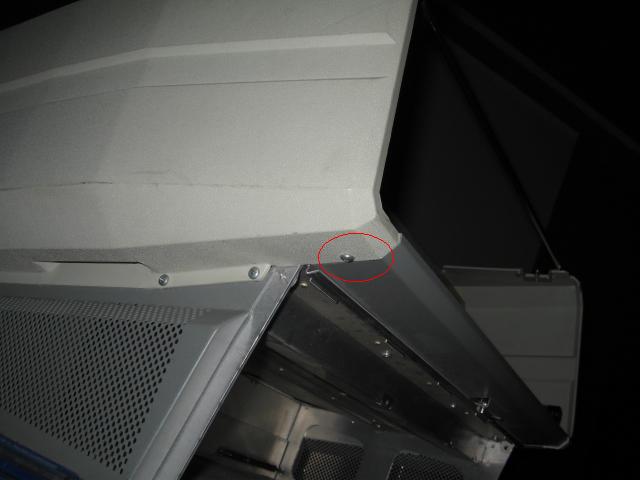
Remove the ONE screw shown below.
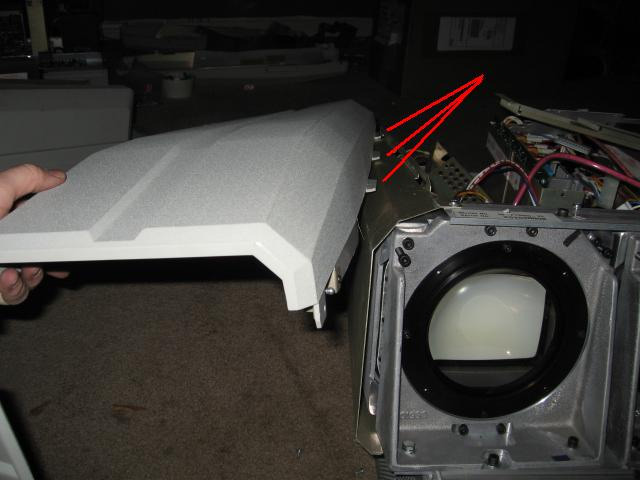
The whole tan panel lifts off as one piece. Just grab it from
the bottom and pull it outwards, then towards you. The three tabs that I've
pointed to you below, are the only thing holding this entire panel on.
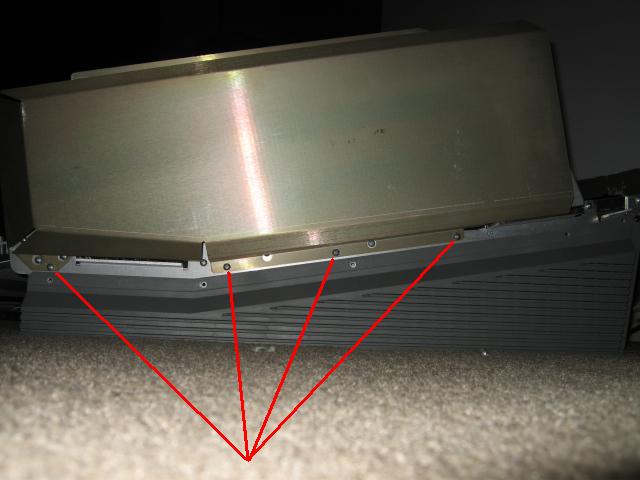
Remove the FOUR screws shown below. I know, there are a BUNCH of
screws, but only remove the ones that look like they are holding on this metal
flange. The ones that I've pointed you to.
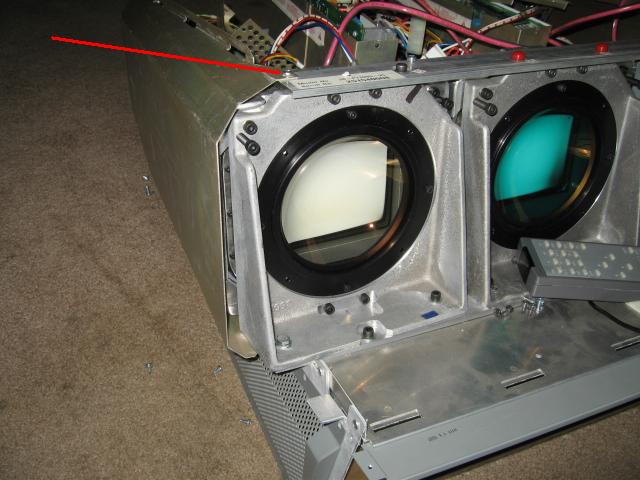
Remove this ONE screw below.
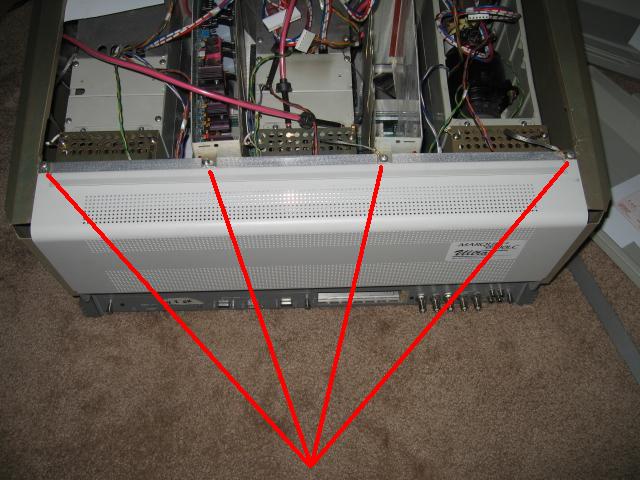
Remove these FOUR screws here, and then swing the back panel
down, towards you. It will come to a stop on it's own, and can support it's own
weight.
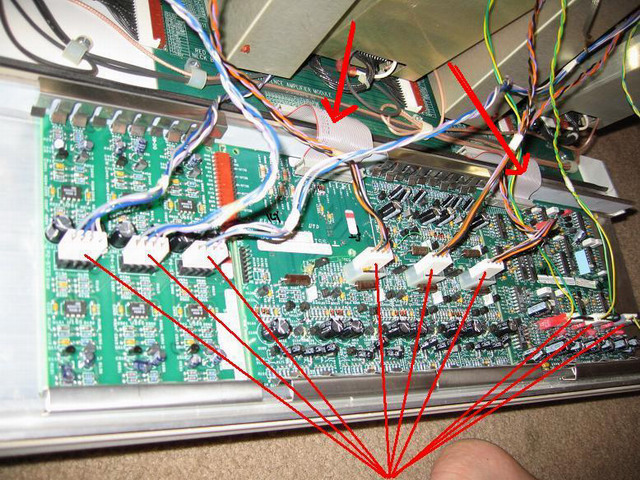
Remove the SIX white connectors and TWO computer style ribbon
cables. There are no tabs or latches to worry about. Just grab the connectors
and lift upwards.
Now, while holding the back panel with one hand, remove the ONE
screw, pictured below.
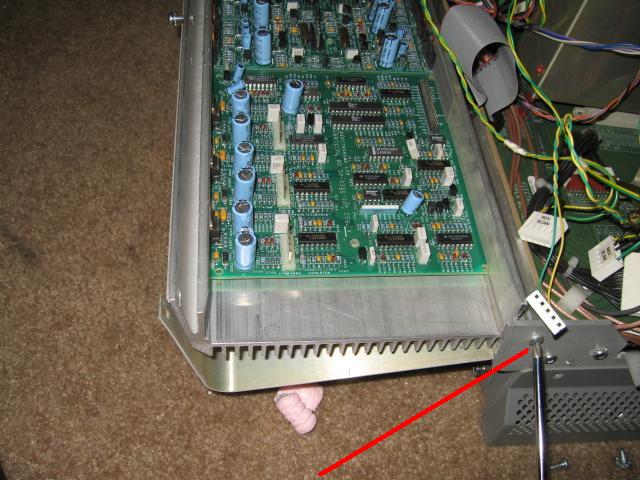
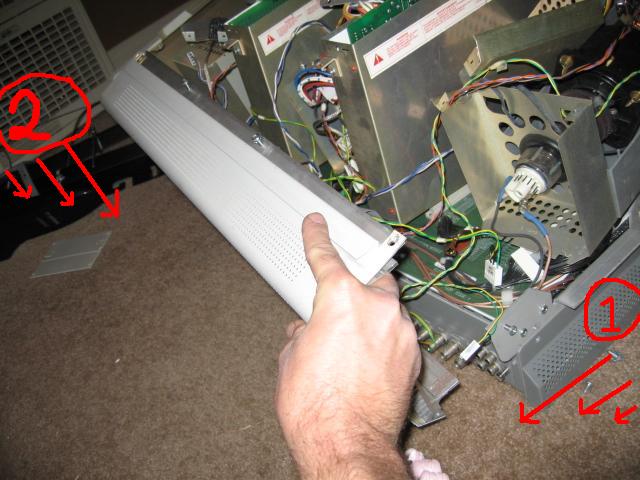
Now, this is a two-step thing. Pull the back panel back as shown
#1, then pull it to your right and slide it out that way as shown #2. The entire
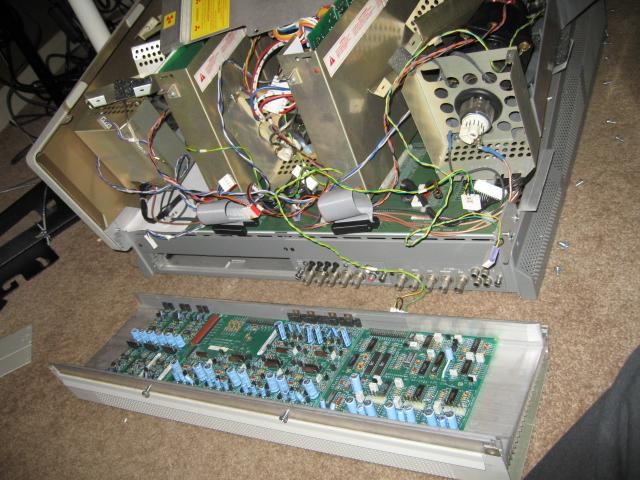
back panel should have been removed from the Marquee if you did this properly.

|


