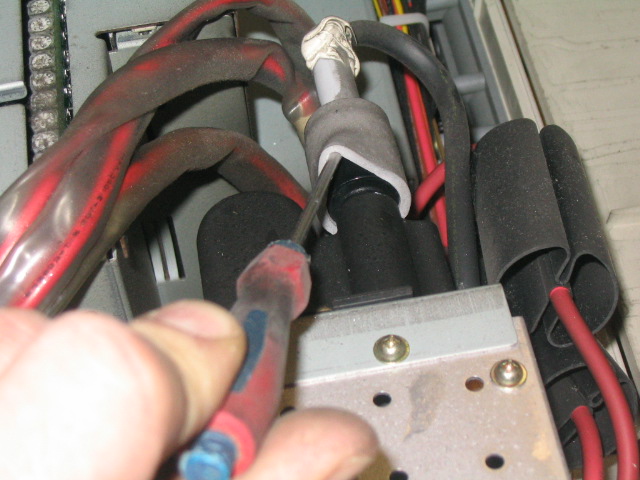
Step 10: Remove the HV lead from the appropriate tube you’re removing
from the HV splitter. This is important! The HV lead snakes along the bottom of
the chassis to the HV splitter. There are two plastic clips usually that hold
the HV lead to the bottom of the chassis. They are somewhat hard to get to until
the tube is partly removed from the set. Reach in with your fingers to loosen
these clips.
VERY important! DO NOT pull on the red HV lead and expect the rubber boot to
pull away from the HV splitter. These gray boots put quite a bit of suction on
the HV lead, and you’ll end up ripping the HV lead out of the socket. Instead,
slip a small jeweler’s screwdriver under the rubber boot to release the suction,
then carefully slide the HV lead and boot off the HV splitter. Make sure you use
an insulated screwdriver, and as a measure of caution, touch the inside metal
connector to the chassis to short out any remaining voltage that remains. (there
won’t be any, but that’s good high voltage practice!)

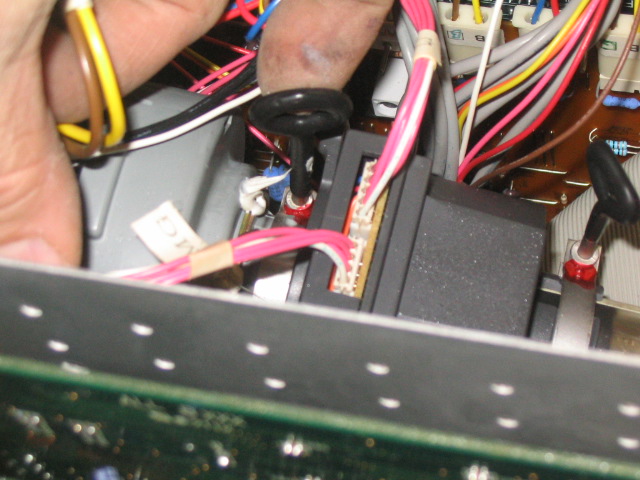
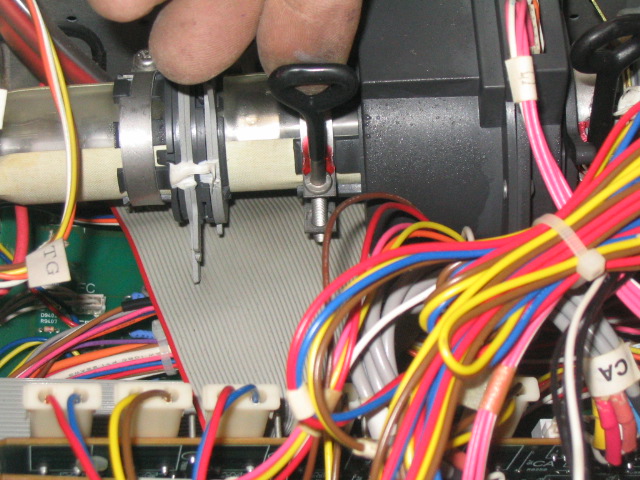
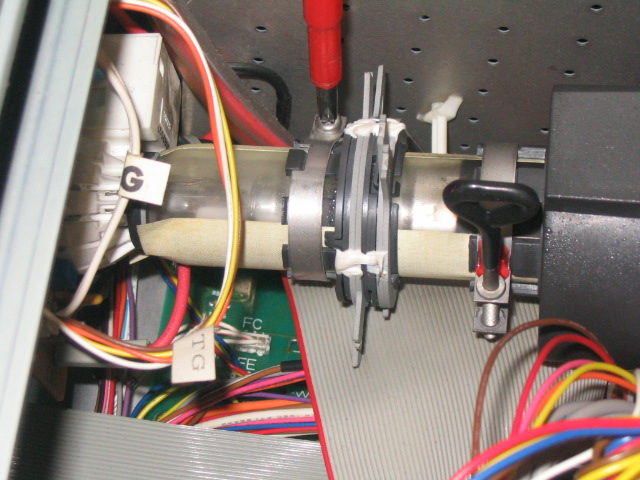
Step 11: Time to loosen the magnetics (yokes and astig magnet) from
the neck of the tube. The main deflection yoke and focus yoke have small
thumbscrews that you loosen, so that the yokes can slide off the back of the
tube.


The astig magnet has a Philips screw that holds it in place. Loosen it as
well.


|


