Step 17: It’s a good idea to check bleed the coolant chamber and put a
small air bubble into the top of the tube. There are two screws at the top of
each tube under a silicone blob as shown. Chip away at the silicone until the
Philips screw is exposed. Take out the Philips screw. Take care that you don’t
lose the screw if the tube coolant is under pressure, as can occur with older
tubes that have absorbed moisture. The screw can shoot up 2-3 feet in extreme
cases.
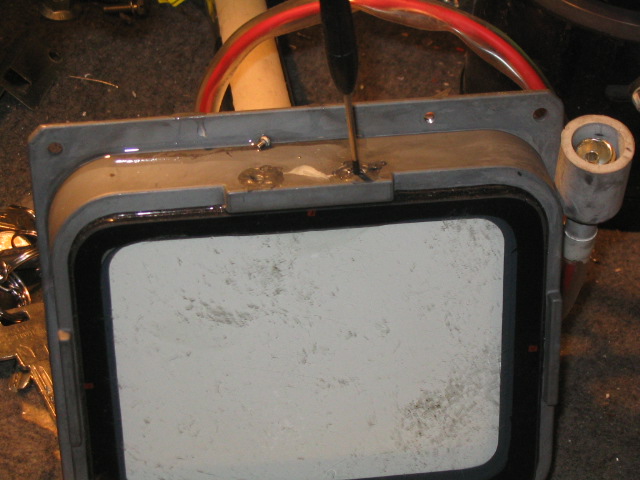
In this case, the screw shot up about an inch, and a ½ cc or so of coolant
spilled onto the top of the tube.
Siphon out enough fluid to leave a small air bubble at the top of the tube. I
use a syringe.
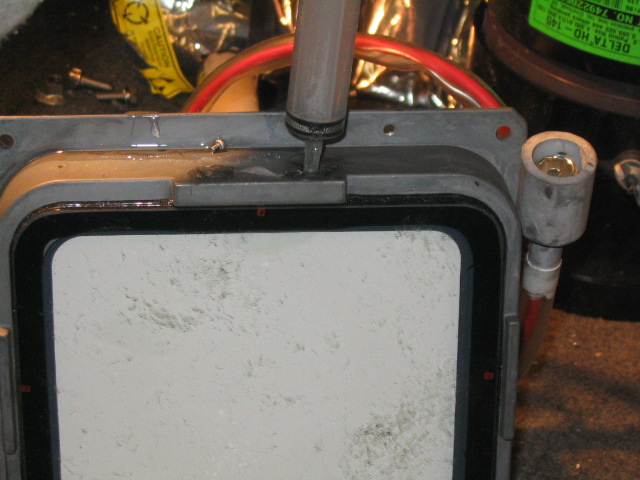
Take out too much fluid and you’ll leave a large air bubble which will
reflect some light well below or above your projected image, so the below air
bubble is too large.
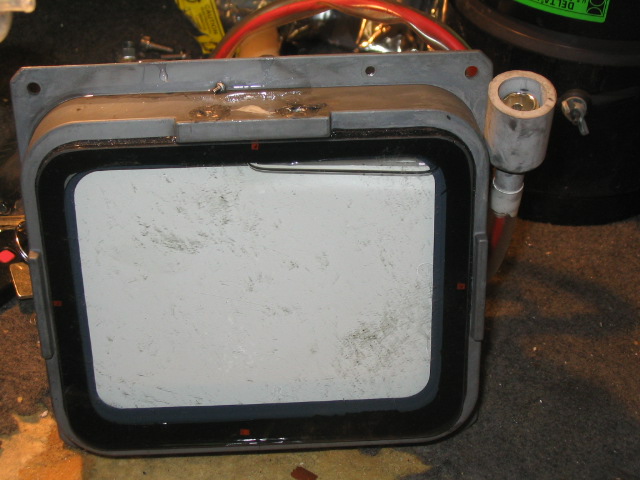
The below air bubble or even slightly smaller is just about right.
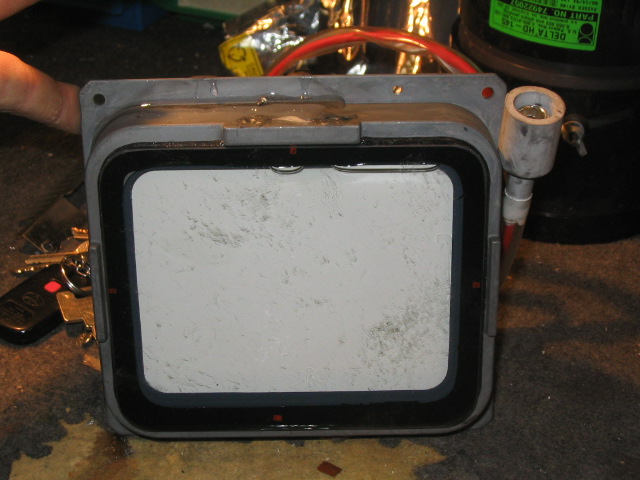
Reinstall the Philips screw and reseal the screw with RTV silicone.
Install the new tube onto the tube frame. A new tube may not come with two
strips of adhesive down each side of the tube neck. This can be done with
surgical tape.
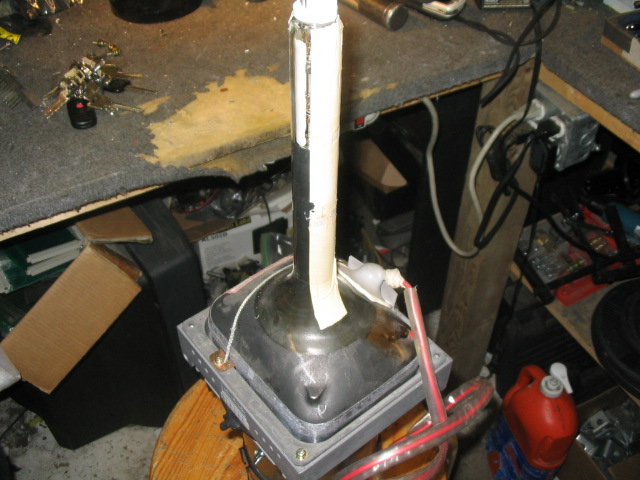
Reinstall the tube into the set, and align the magnetics.
| Did you find this information useful? Please consider making a
donation to help defray the cost of managing and hosting future
articles, tips, and documents. |
|
|
|
Or
purchase
from
Amazon.com
and a small percentage automatically
goes to support this site at no extra cost to you! Visit their
Blu-ray and
4K UHD
stores for sales.
Want to show off your
home theater? See our
Blu-ray Release List & Must-Have Titles. |
|

|
|

|


