Step 12: Slide the CRT socket off the back of the tube itself
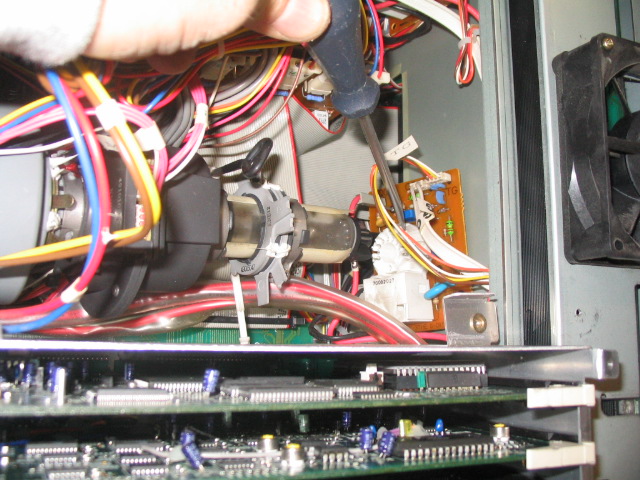
Step 13: Remove the long bolts that hold the bottom of the tube in
place.
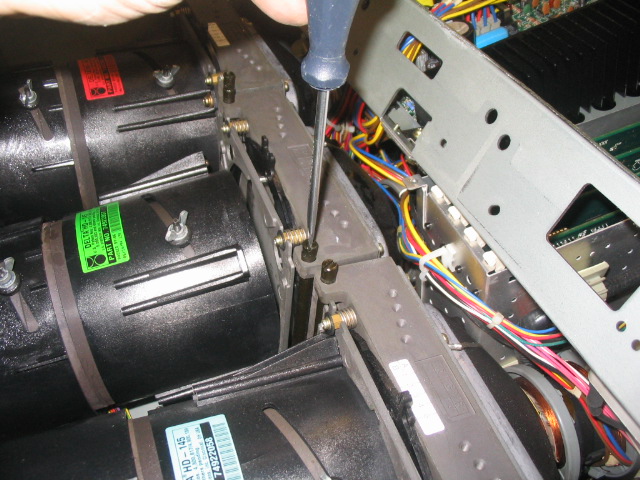
Step 14: You can now choose to take the lens off the tube assembly. I
personally find it easier to grip the lens assembly while sliding the tube
itself out, but taking off the lens will lighten the tube assembly by about 10
lbs.
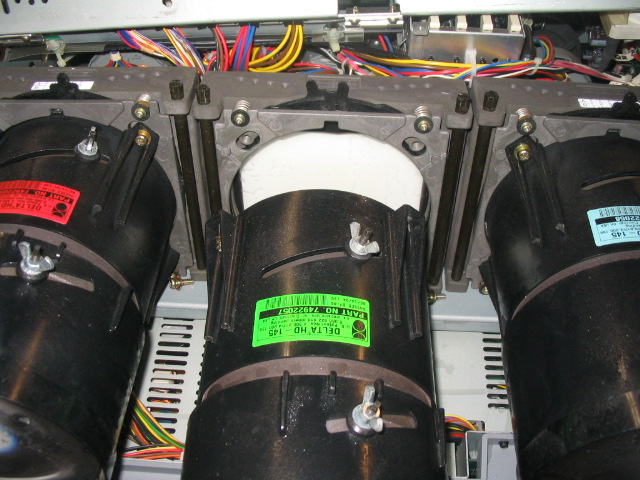
Step 15: Start sliding the tube assembly out the front of the set.
You’ll need to snake out the HV lead as the tube comes out, and wiggle the astig
magnet, focus and main deflection yoke backwards off the neck of the tube as the
tube slides forward.
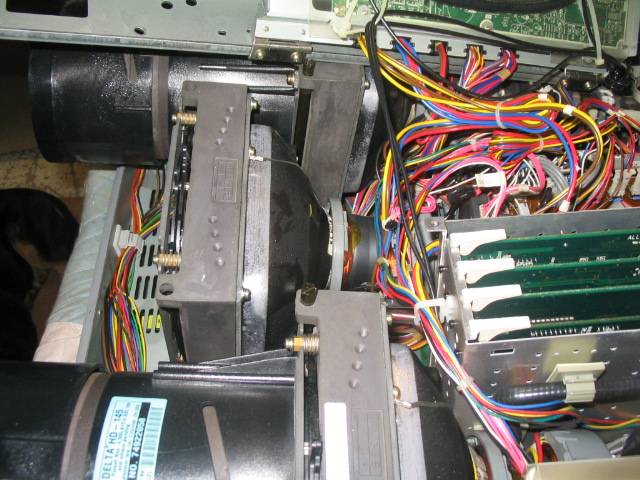
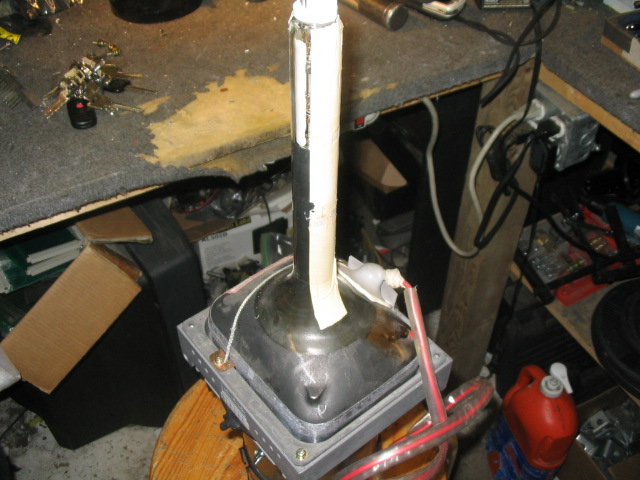
Step 16: Here’s a shot of the tube assembly once it’s out of the set.
There is one Philips screw in each corner of the tube that holds it to the
mounting frame. Note the metal strap running across the bell of the tube in the
pix below. This is the ground strap, and it’s mandatory that it is in place. If
your new tube lacks the grounding strap, pull it off the old tube and screw it
in place on the replacement tube.

|


