 |
||||||||||||
| Home |
|
Products For Sale |
FAQs, Tips, Manuals |
Referral List |
|
Photo Gallery |
|
Links |
|
Contact Us |
|
|
||||||||||||||||
The information below is
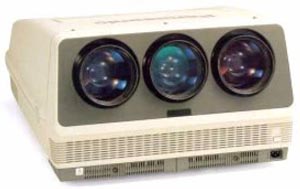
courtesy of forum member JaniH. Thanks Jani!: There are 3 sizes of spacers to
install between tubes and lenses according to used image size: 60-79", 80-120"
or 121-300" (diagonal sizes of a 4:3 screen). If you don't have spacers
for your screen size you have to use washers as I don't know where to get these
spacers*. I have the medium size spacers (80-120") in my projector. Tubes are
toed-in horizontally for the same
screen sizes with a couple of screws you see if you open the hood. All this is
similar to Sony 125x/127x setup. To reset all adjustments to midpoint (128) without resetting each one manually, press: Test, Cut-off, 1, 5, 6, 5, Store, Store. Don't mind about the "key not applicable" errors, just keep pressing the buttons. *Yener from Germany provided the following information on spacers: The small Lens spacers (70) have the following dimensions: Blue Spacer (70): Green Spacer (70): Red Spacers (70):
|
|
|||||||||||||||
© Copyright CurtPalme.com. All Rights Reserved. |

 Panasonic
1083/1085