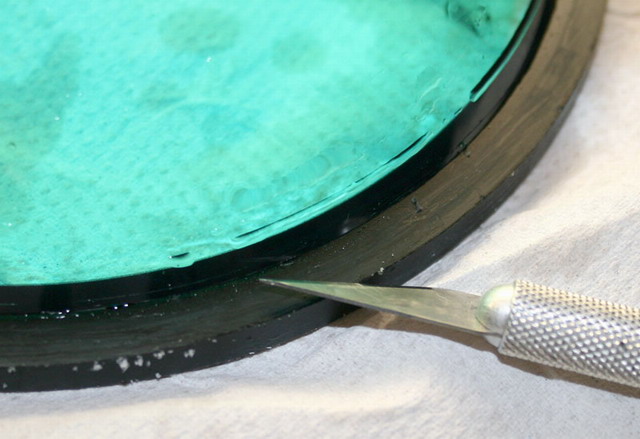
16. Finally, make the border of the C-Element as clean and flat as possible
by removing any remaining rubber bits:
Ensure that the convex part of the new C-Element is completely clean of any
dust or debris!
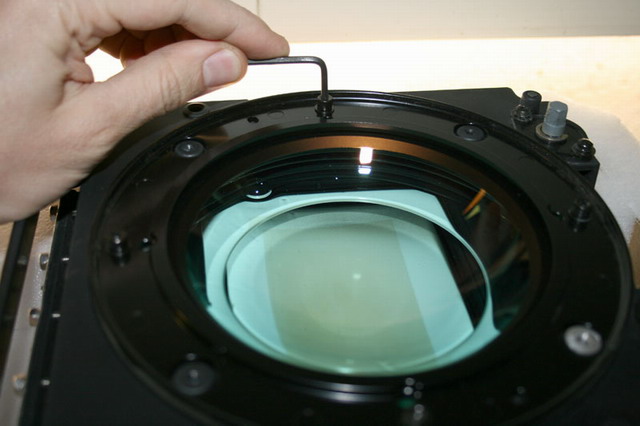
17. Back on the LC housing assembly... Remove the 4 screws from the annular
(ring) bezel:
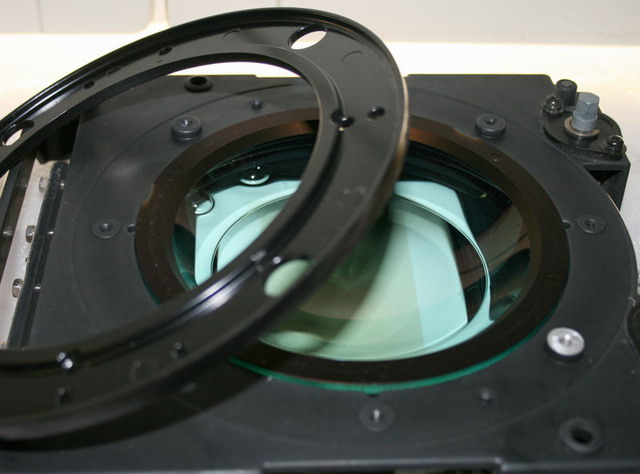
18. Remove the annular bezel:
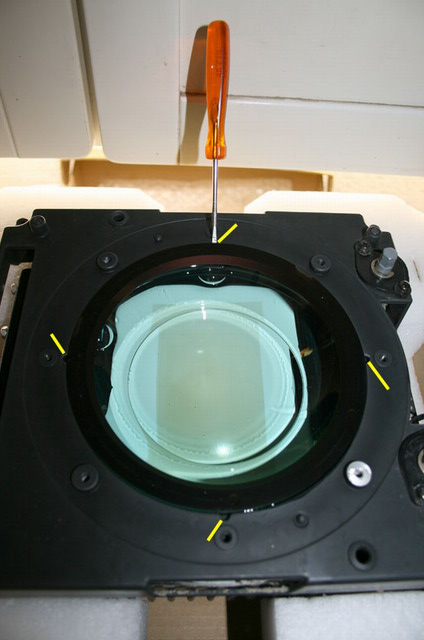
19. With a small flat screw driver, use the four small holes to pull-up the Sony C-Element from the LC housing (do it in circular manner). Take care of the
annular rubber joint that may remain attached to the C-Element while you pull it
out!:
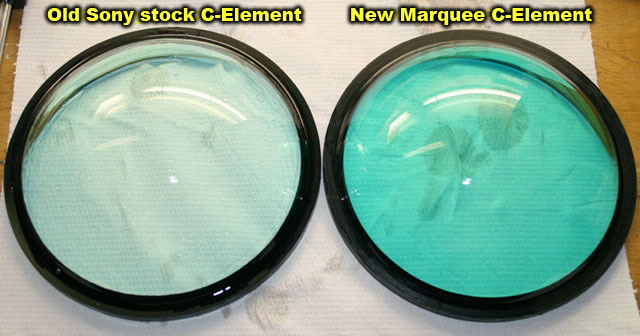
20. Here is a comparison view of the Sony stock and new Marquee green colour:
After checking that the 3mm thick annular rubber joint is well in place,
place the new Marquee C-Element immediately on the LC housing and re-attach the
annular bezel with its 4 screws. Screw them 1 turn at a time in circular manner. Ensure
that these are well secured.
Tilt the tube + LC housing assembly horizontally and leave it in
this position for 12 hours so this can let any glycol drops spill-out from the C-Element joint on
to your work area. (Place some paper towels underneath to catch these drips as
glycol is highly corrosive).
After checking that all is okay, fill the LC housing tank with the glycol you
extracted previously. Make sure to tilt the assembly periodically so the air bubbles all
rise from the tube area to the tank. Place the tube and LC housing back in the
projector, reattach the lens, reconnect all the coils wires, and place the CG element back
in place. Close the projector.
That's all.
Enjoy the better colour of your G90!
John
| Did you find this information useful? Please consider making a
donation to help defray the cost of managing and hosting future
articles, tips, and documents. |
|
|
|
Or
purchase
from
Amazon.com
and a small percentage automatically
goes to support this site at no extra cost to you! Visit their
Blu-ray and
4K UHD
stores for sales.
Want to show off your
home theater? See our
Blu-ray Release List & Must-Have Titles. |
|

|
|

|


