For definitions of c-element, liquid coupling (LC), or air coupling (AC),
see this
page. This procedure was written by Pjackso on Jan 27, 2008. Thanks Paul! The following document describes the necessary steps to replace a
Liquid Coupled (LC) CRT tube from an Electrohome Marquee. It shows the basics,
which will present a decent introduction for a novice. Hopefully, the pictures
and tips will help make your job a little bit easier, or at least give you an
idea of what to expect.
1. Remove the tube assembly from the projector:
1.a The steps for tube assembly removal are excellently described in Tim’s
website E-Tech. See www.etechvideo.com. Refer to Tim’s website for tube assembly
removal. http://www.etechvideo.com/techtip8.htm
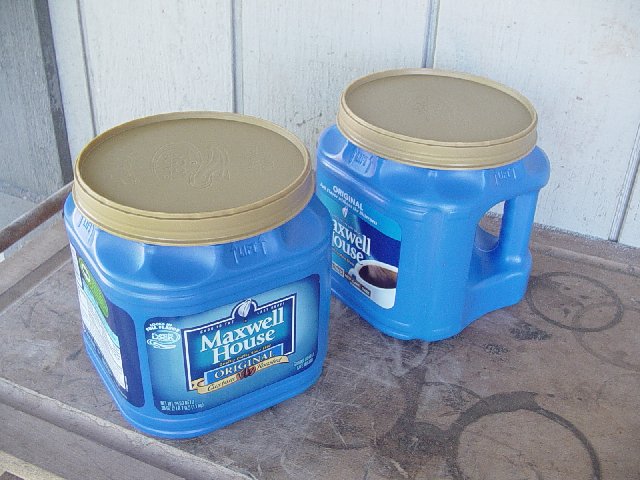
1.b I used a plastic cap to help protect the C-element and keep dirt from
getting inside. It’s from a Maxwell House coffee can. Not required, but quite
handy.
1.c Following Tim’s removal instructions, you should have the tube assembly
removed from the projector. (Picture 1.c.)
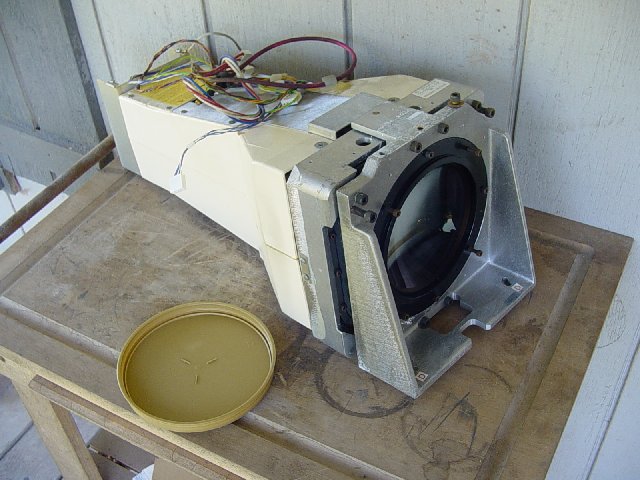
Picture 1.c.
2. Removing the top plastic cover:
2.a Remove the two (2) small access-plates (labeled “1” and “2” in Picture 2.a)
on the top of the plastic cover. (Picture 2.a)
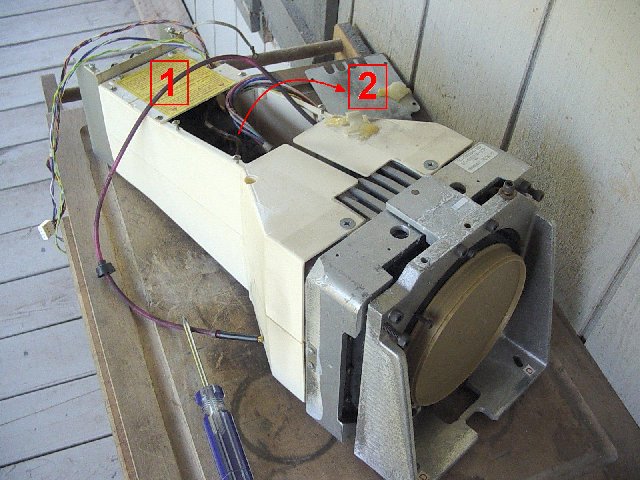
Picture 2.a.
2.b Use a Philips screwdriver to remove the six (6) Philips screws from the
upper cover.
2.c Remove the upper cover. (See Picture 2.c)
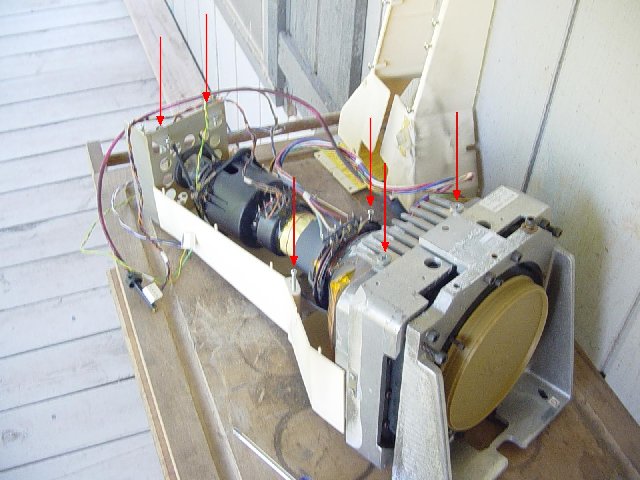
Picture 2.c.
2.d Remove the two (2) large Philips screws from the bottom cover (Located in
the aluminum housing.) and the two small screws in the bottom of the neck board
basket.
2.e. Remove the neck board basket and lower plastic cover. (Picture 2.e)
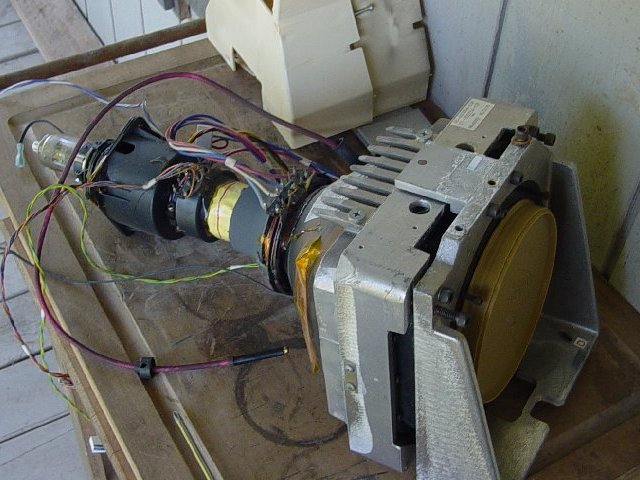
Picture 2.e.
3. Removing the tube electronics: (Picture 3)
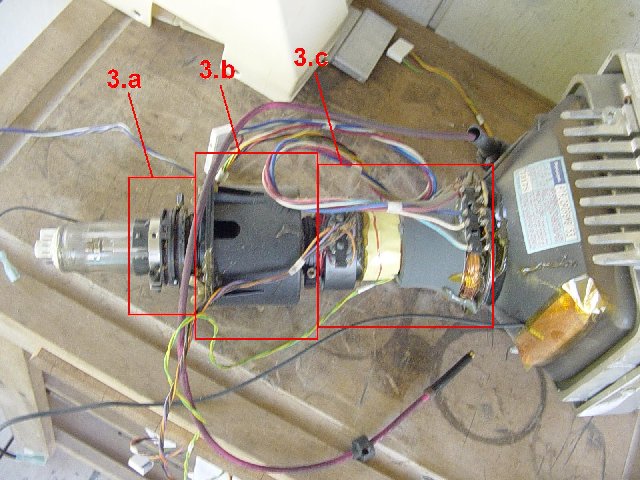
Picture 3.
3.a The Flare Yoke. Loosen clamp, twist to break the set-glue, and remove off
the back of the tube with a firm left/right twisting motion. Using some tape and
a pen - mark the yoke to indicate which tube it came from (R, G, B).
Note: The yokes on all three tubes are identical, but some of the plugs
connectors are color identified (RGB) and the wires already have the appropriate
‘bends’ in the wire routing. So I recommend you keep the yokes with the
appropriate tubes.
3.b The Focus Yoke. Loosen clamp, twist to break the set-glue, and remove off
the back of the tube with a firm left/right twisting motion. (Picture 3.b) Using
some tape and a pen - mark the yoke to indicate which tube it came from (R, G,
B).
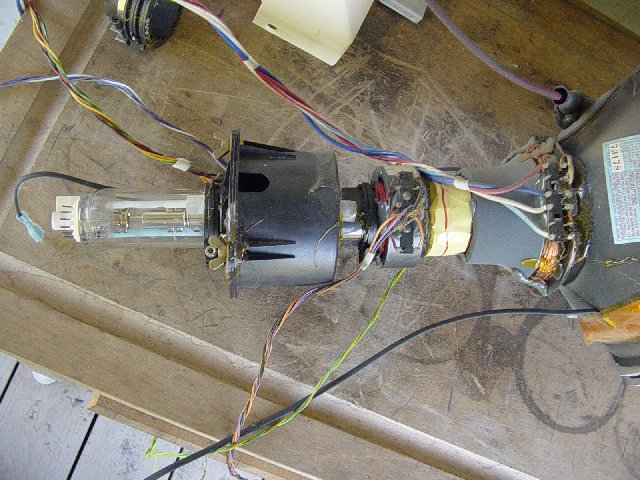
Picture 3.b.
3.c The Scan Yoke. Be careful with the scan yoke - it’s easily damaged.
E-Tech has additional information on how to safely handle (remove) it:
http://www.etechvideo.com/techtip9.htm
3.c.1 I carefully loosed all the set-glue on the scan yoke before trying to
remove it. After loosening all the set-glue I loosen the clamp and removed it
off the back of the tube with a left/right twisting motion. (Picture 3.c.1)
Using some tape and a pen - mark the yoke to indicate which tube it came from
(R, G, B).
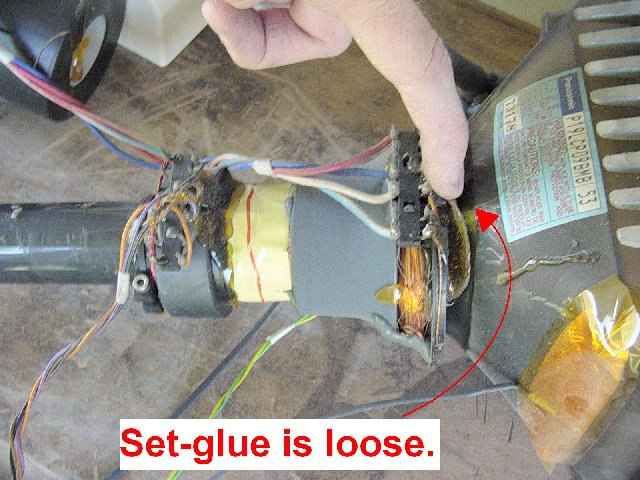
Picture 3.c.1.
3.d Carefully (and slowly) remove the tube ground strap. (Picture 3.d.1) Once
removed, safely store the ground strap in some wax paper for later usage.
(Picture 3.d.2)
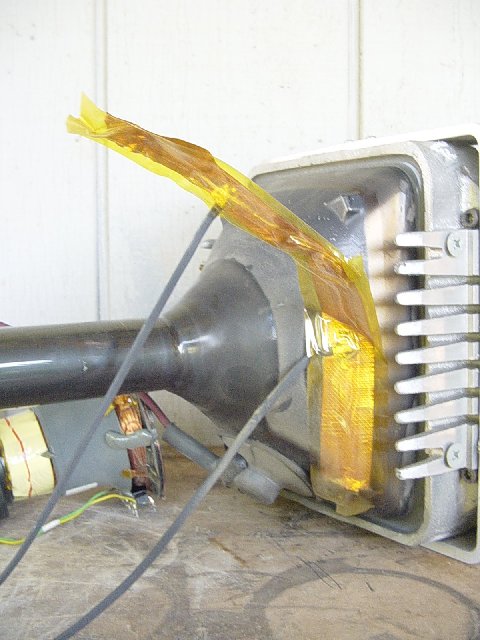
Picture 3.d.1.
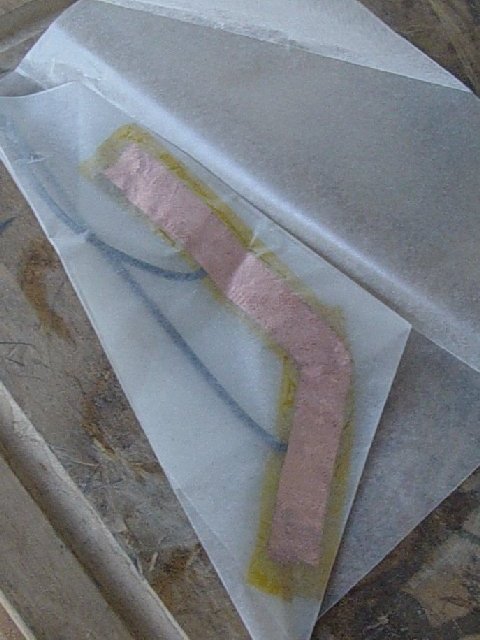
Picture 3.d.2.

|


