8.c Use the putty knife to scrape the remaining silicone off the housing.
Occasionally use the paintbrush to gently remove some of the debris. Do not try
to scratch the black finish on the aluminum, as it helps protect the aluminum
housing from the corrosive glycol. The black finish is really tough, so you’ll
probably not have a problem.
8.d After the remaining silicone has been removed, now is the time to ensure the
bellows chamber is completely clean of dirt. Here’s what worked for me:
8.d.1 Start-up your air-compressor and have an airgun attached. Preferably a
rubber tip nozzle. (Picture 8.d.1)
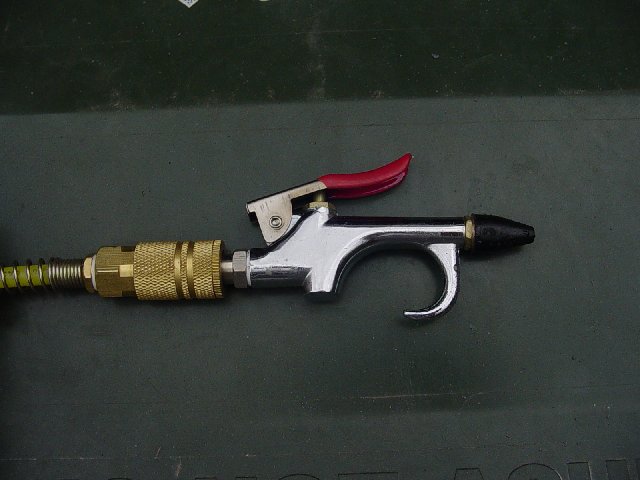
Picture 8.d.1.
8.d.2 Using a garden hose and moderate water pressure, spray/flush the
housing with water to remove the loosely attached dirt and silicone. (Picture
8.d.2)
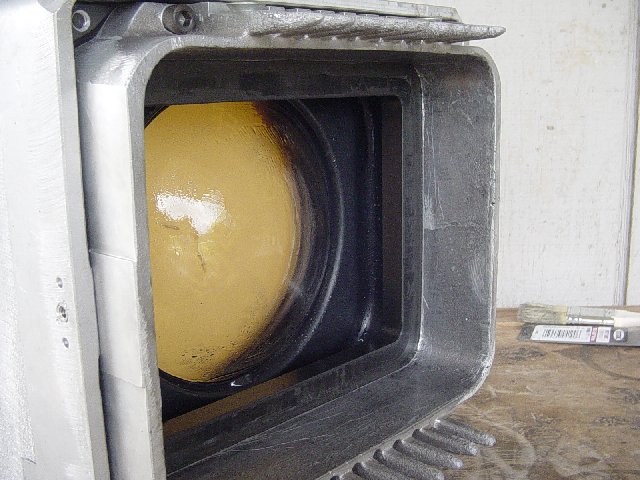
Picture 8.d.2.
8.d.3 After completely flushing the housing, take the housing and rinse using
hot water. (I used the kitchen when the wife wasn’t looking.) Keep rinsing until
the aluminum housing and C-element assembly is about the same hot/warm
temperature as the hot water.
8.d.4 Take the (hot/warm) housing to the air-compressor. Hold the housing
assembly so that the C-element is horizontal and any water on the C-element
would drain away from the center to the edges. (lens side down, tube side up.)
(Picture 8.d.4)
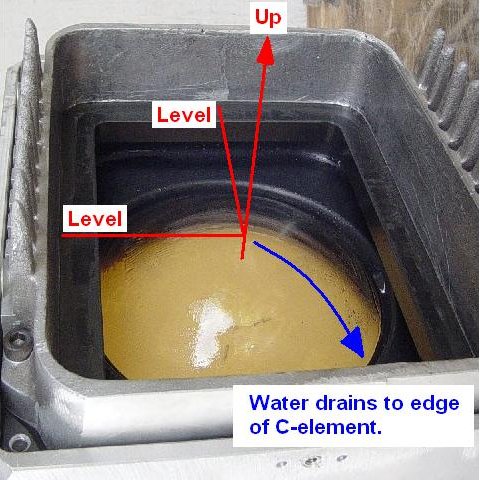
Picture 8.d.4
8.d.5 Use the air nozzle and blow-dry the assembly. Hold the air-nozzle at
least 6 inches away from the housing. Blow-dry the majority of the housing dry
and then concentrate on any remaining water on the C-element. If any water
remains on the C-element, blow the water to the edges of the C-element. The idea
here is to ensure no water stays on the center of the C-element and dries. This
could possibly leave water spots in the middle (most visible area) of the
C-element. Do not try using towels to dry the C-element as towels leaves a lot
of lint, and the C-element scratches fairly easily.
*** Allow adequate time for assembly to completely air dry. ***
8.d.6 You should now have a clean housing & C-element. (Picture 8.d.6)
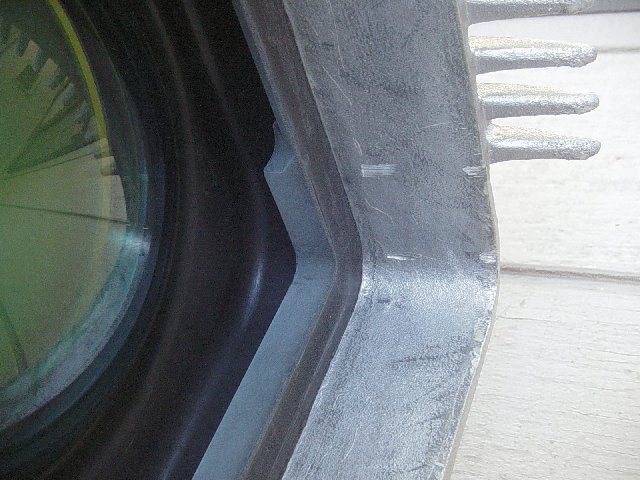
Picture 8.d.6.
9. C-element replacement:
Note: Are you installing a new C-element? Reference document on Curt Palme:
http://www.curtpalme.com/Changing_C_Elements1.shtm
If you’re not changing a C-element, proceed to task 10.
10 Installing your new tubes:
Suggestion: Before installing your tubes, I recommend you test your silicone
prior to usage. I got a bad tube of silicone that did not cure – even after a
week. I figured this out after I had installed all three of my tubes. I had to
remove all the tubes, remove the bad silicone, carefully clean the entire
assemblies and tubes, and finally repeat the entire process of tube
installation. My bad silicone was oily and hard to clean. Therefore, I recommend
you test your silicone first. Open the tube (Snip off the tip of the silicone
tube, but keep the hole size as small as), apply a small dab of silicone on some
paper, wait one day, and observe the results - If it’s firm flexible rubber then
it’s good.
10.a Collect your supplies, you’ll need: 1) your new tubes, 2) 1 tube of GE
silicone II Black Window and Door Silicone Sealant, 3) caulk gun, 4) some unused
paper [notebook or printer paper], and 5) 2 packages of wooden shims (optional).
I used typical wooden shims used for door & window installation. (Picture 10.a)
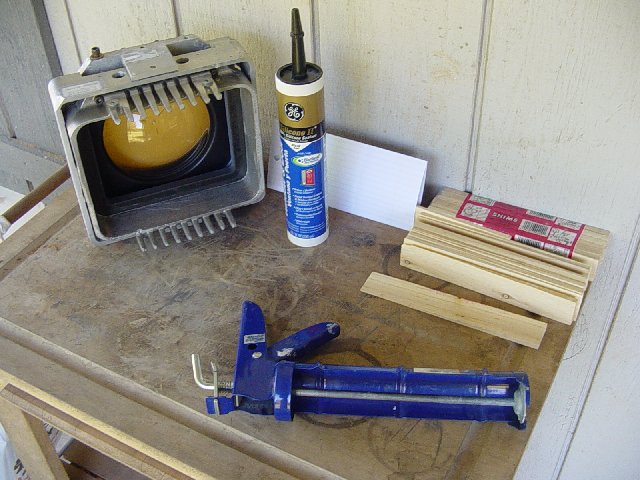
Picture 10.a.
10.b Use some small blocks of wood to place under the housing so that the
mounting surface will sit flat on your workspace. We will be mounting the tube
soon, and want the tube to be mounted on a level surface.
10.c Dry fit the tube in the housing. Place the tube in the housing and adjust
the tube so that it is centered and all gaps are equal. (Picture 10.c)
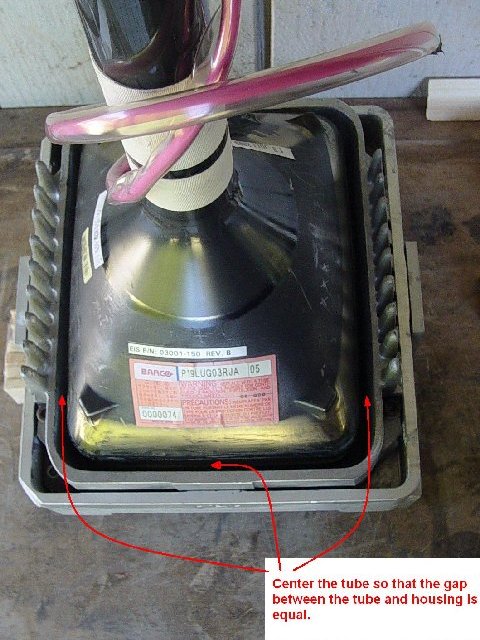
Picture 10.c.
10.d Trim the shims so that they fit snugly between the tube and housing and
they maintain the gap necessary to keep the tube centered. (The shims will hold
the tube in place once the silicone is used.) (Picture 10.d)
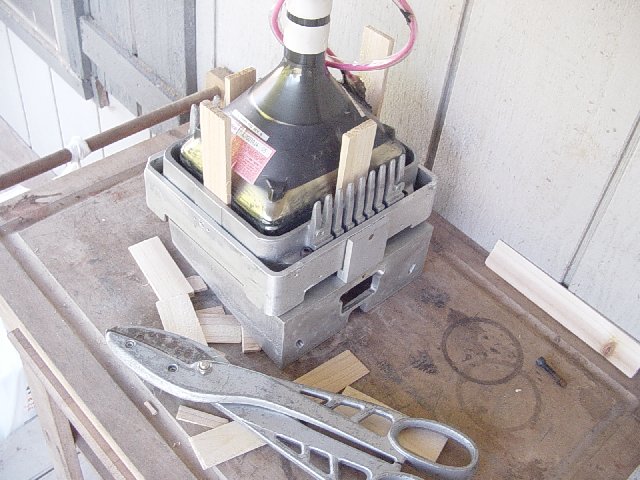
Picture 10.d.
10.e Once the shims are cut to size, remove the tube, and keep the shims in
their respective locations. (Picture 10.e)
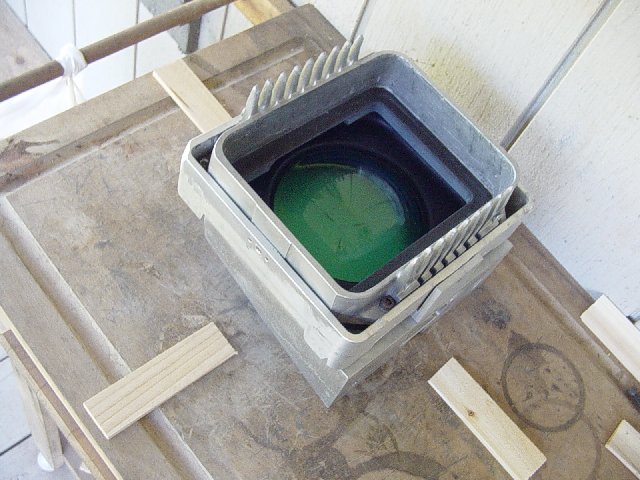
Picture 10.e.
10.f Clean the glass on the tube face. Ensure there is no dirt or smudge
marks on the tube glass.
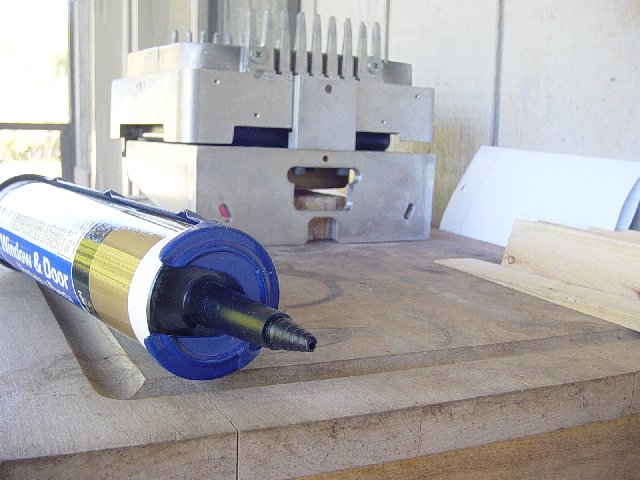
10.g Did you test the silicone per the suggestion (just prior to step 9.a)? If
you did, then good. If not, then snip off the tip of the silicone tube - keep
the hole size as small as possible. (Picture 10.g)
Picture 10.g.
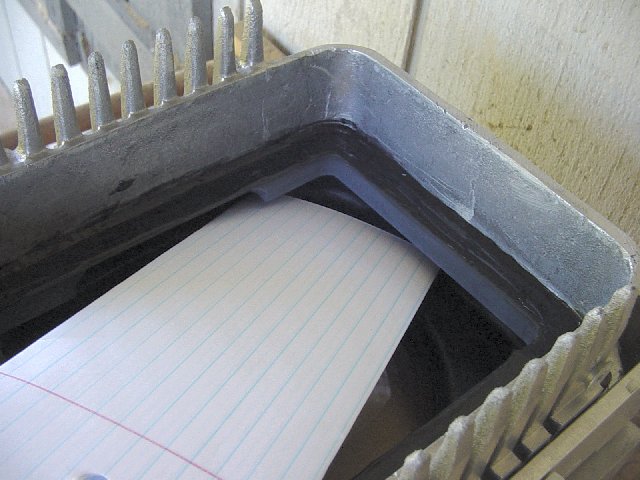
10.h Take some paper and tri-fold it like a folded letter. Take the paper and
insert it over the C-element and into the bellows. This should protect the
C-element from accidentally getting any silicone on it. (You don’t want that to
happen, but if it does occur – I suggest using lots of clean soft dry Q-tips to
remove the silicone. If you try using paper-towels, use caution as the C-element
can easily be scratched even by paper-towels.)
10.i With the paper covering the C-element, apply a layer of silicone to the
mounting face of the housing and smooth out the silicone to a uniform thin
layer. Move the paper as required to protect the C-element. (Picture 10.i)
Picture 10.i.

|


